Summarize
- Indirect light on the ceiling creates an atmosphere without light switches
- Led profiles allow easy installation in different rooms
- The installation requires hiding the driver and planning the wiring layout.
- Wireless control allows you to adjust the colour temperature of the light
- Retrofitting is easy, as long as the power supply is taken into account
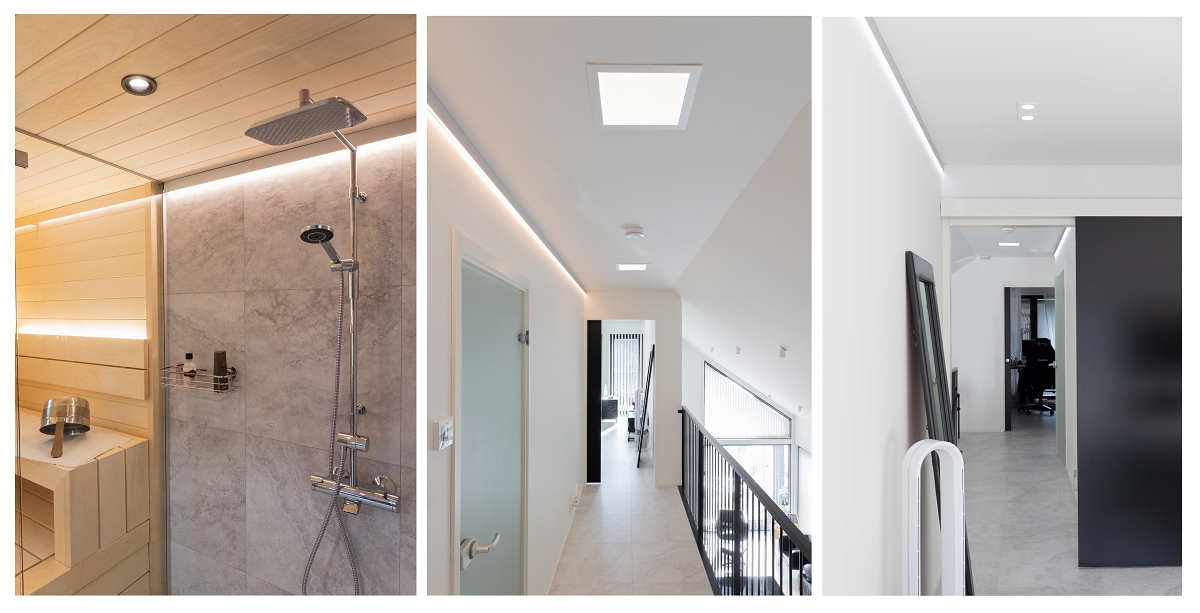
Do you need more light in your hallway or bedroom? Do you need to add some mood lighting to your living room, but you don’t have electricity or light switches already installed? Don’t worry! Atmospheric indirect light on the ceiling is easily achieved with a ready-made LED profile. Here we present an installation for indirect light in the living room, bedroom and study.
Indirect light on the ceiling, installation options
Often we face a situation where a room needs more light, but there’s no switch or ceiling power supply available for a new fixture. Usually, there’s a ceiling light outlet in the center of the room, but running a cable across the ceiling from that point isn’t always the most visually appealing solution. It’s also important to remember that indirect LED lighting typically requires a driver. Ideally one that can be hidden away, for example in a cabinet or above the ceiling or behind the service hatch.
So, how do you install indirect lighting neatly on the ceiling? In this article, we share a case where, during the construction phase of a house, the wiring for an LED strip was pre-installed from a service hatch to the corner of the room. In other words, the installation of a future LED profile had already been taken into account during the planning and building stages. Indirect lighting can also be installed entirely as a retrofit solution.
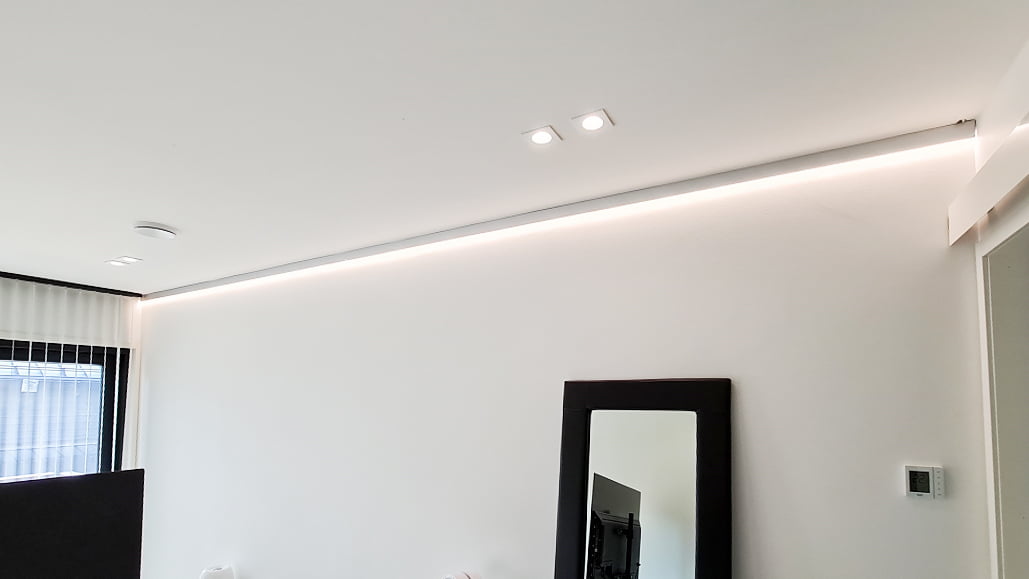
For this setup, we used the INDIRECT2 aluminium profile, with a color temperature adjustable SOLO CCT 14.4W/m LED strip installed only on the bottom surface of the profile. This LED strip provides excellent light output for the bedroom. It’s completely dot-free and allows seamless color temperature adjustment. Thanks to this feature, the lighting can be continuously adjusted from warm (2700K) to cool (5500K) to suit different needs and moods.
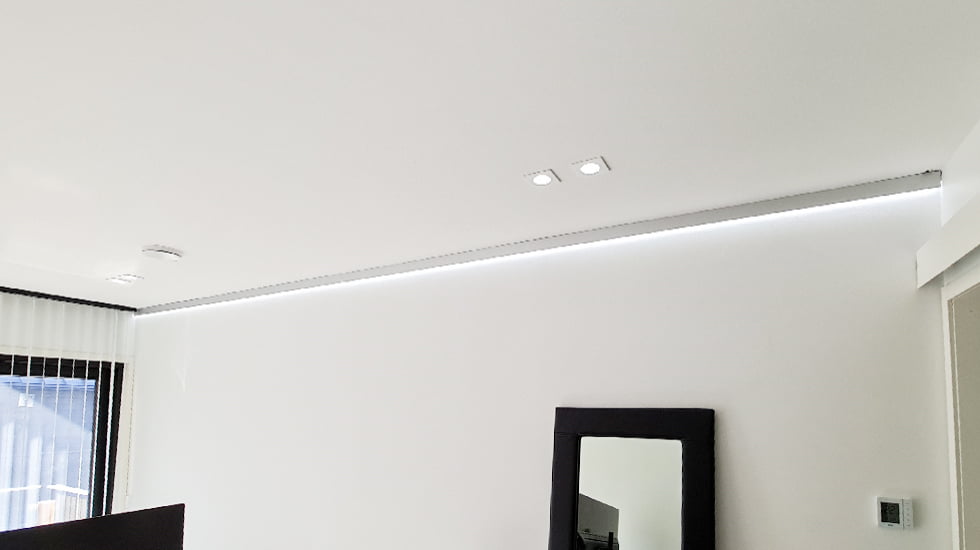
Indirect light for the ceiling made in the LedShop or at home
Below is a summary of the steps involved when installing the profile as a retrofit.
A) Preparation phase:
- Decide on the installation location for the lighting and the transformer.
- Measure how long the LED strip and profile need to be, as well as the distance from the strip to the nearest power source and/or electrical outlet.
- Choose an LED strip that suits your needs.
- Get an aluminum profile for the LED strip based on the installation location and your specific needs.
- Decide how you will control the LED strip. NOTE! CCT and RGB strips require more than just an ON/OFF switch, you’ll need a controller to adjust the color tones.
B) Installation phase:
- Cut the aluminum profile to the correct length and create an opening for the connection cable.
- Cut the LED strip to the correct length and solder the connection cable to the end of the strip.
- Attach the LED strip to the aluminum profile if the setup consists of a single profile section. If there are multiple sections, install the LED strip only after all profiles are mounted.
C) Installation when using wireless lighting control:
- Attach the mounting brackets for the profile.
- Press the profile into the mounting brackets.
- Adhere the LED strip in place and press the diffuser cover onto the profile.
- Route the cable along the corner under a protective channel to the driver.
- Connecting the driver to the electricity supply e.g. with plug.
- Pair the wireless switch with the driver.
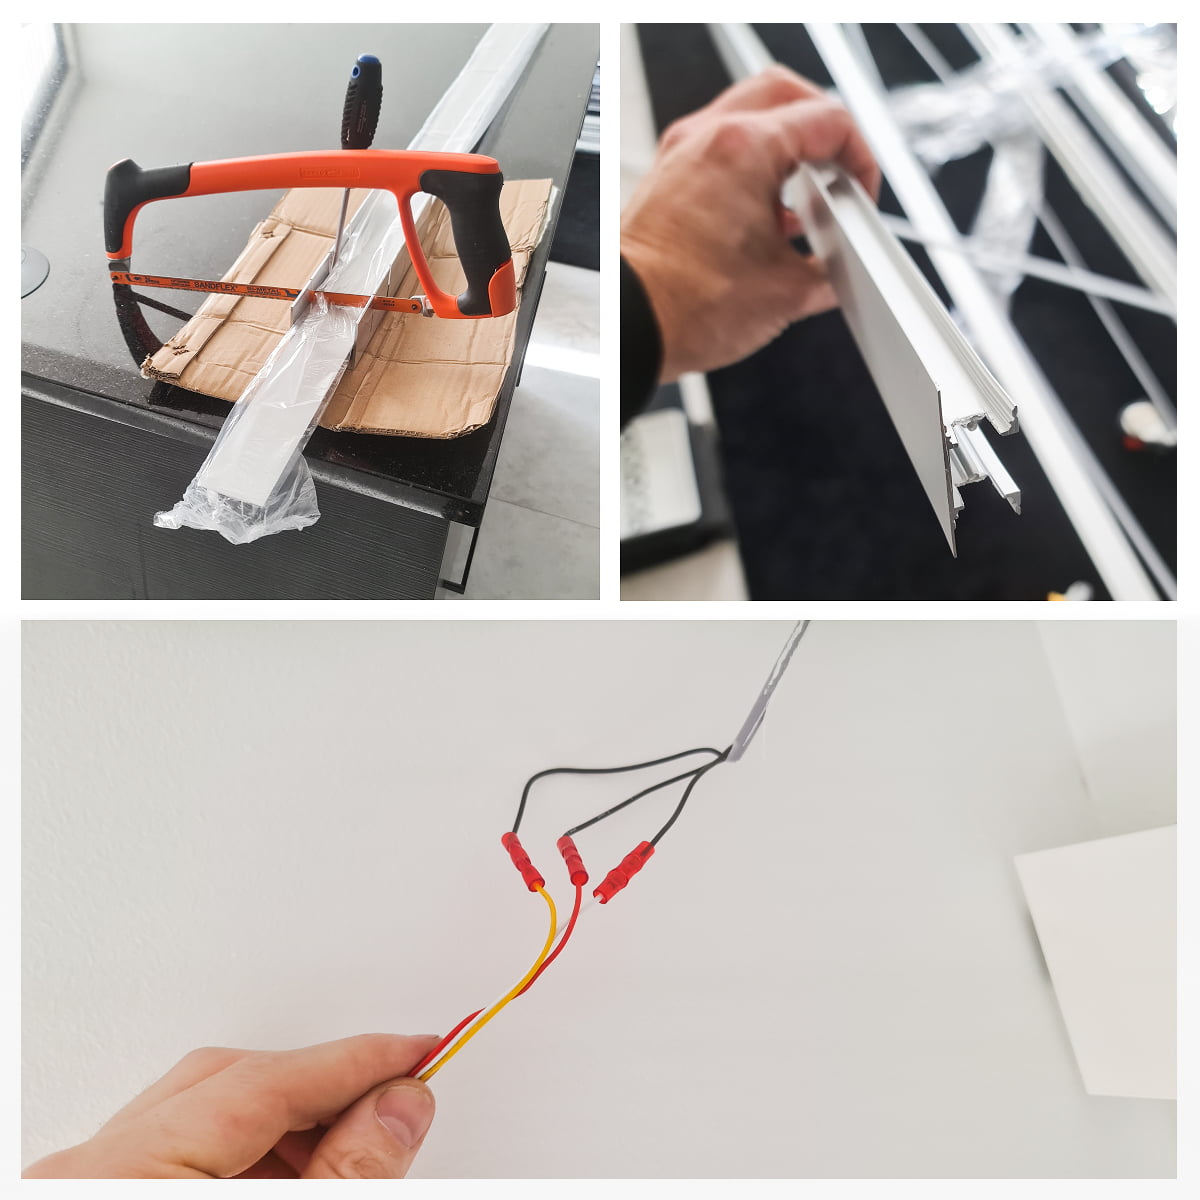
In this project, the necessary power feeds for the indirect lighting had been planned in advance, with cables already in place at each installation point. The other end of the connection cable was pre-wired to the driver, which only required a mains power connection.
A typical location for the driver is in the ceiling, behind a service hatch. In some cases, panel lights can also be used as access points for the driver if needed. In this setup, a 300×300 LED panel installed in the walk-in closet next to the bedroom was used as a service hatch for the LED strip driver. This allowed the ceiling surface in the bedroom to remain clean and unbroken.
RGBW and CCT color temperature adjustable LED strips are often controlled using drivers that work with wireless switches. In these setups, the control is wireless, so there’s no need to run wiring to the switches. More on this later.
On-site installation of indirect light
Cutting the profile
So the first thing to know was how long the indirect light would be on the ceiling. The profiles were cut using a metal saw, but a wood blade can also be used, as aluminum is soft. The input end of the profile was modified with side cutters by removing small sections to make room. This allows the top-fed cable and its connectors (Apico or soldered) to fit properly into the upper channel of the profile, where the cable runs to the LED strip.
Installing wall brackets
Next, the bracket positions were marked on the wall. A small piece of the profile was used as a guide to ensure all brackets were aligned at the same level. Ceilings are often not perfectly straight, so measuring each bracket directly from the ceiling could result in a misaligned installation.
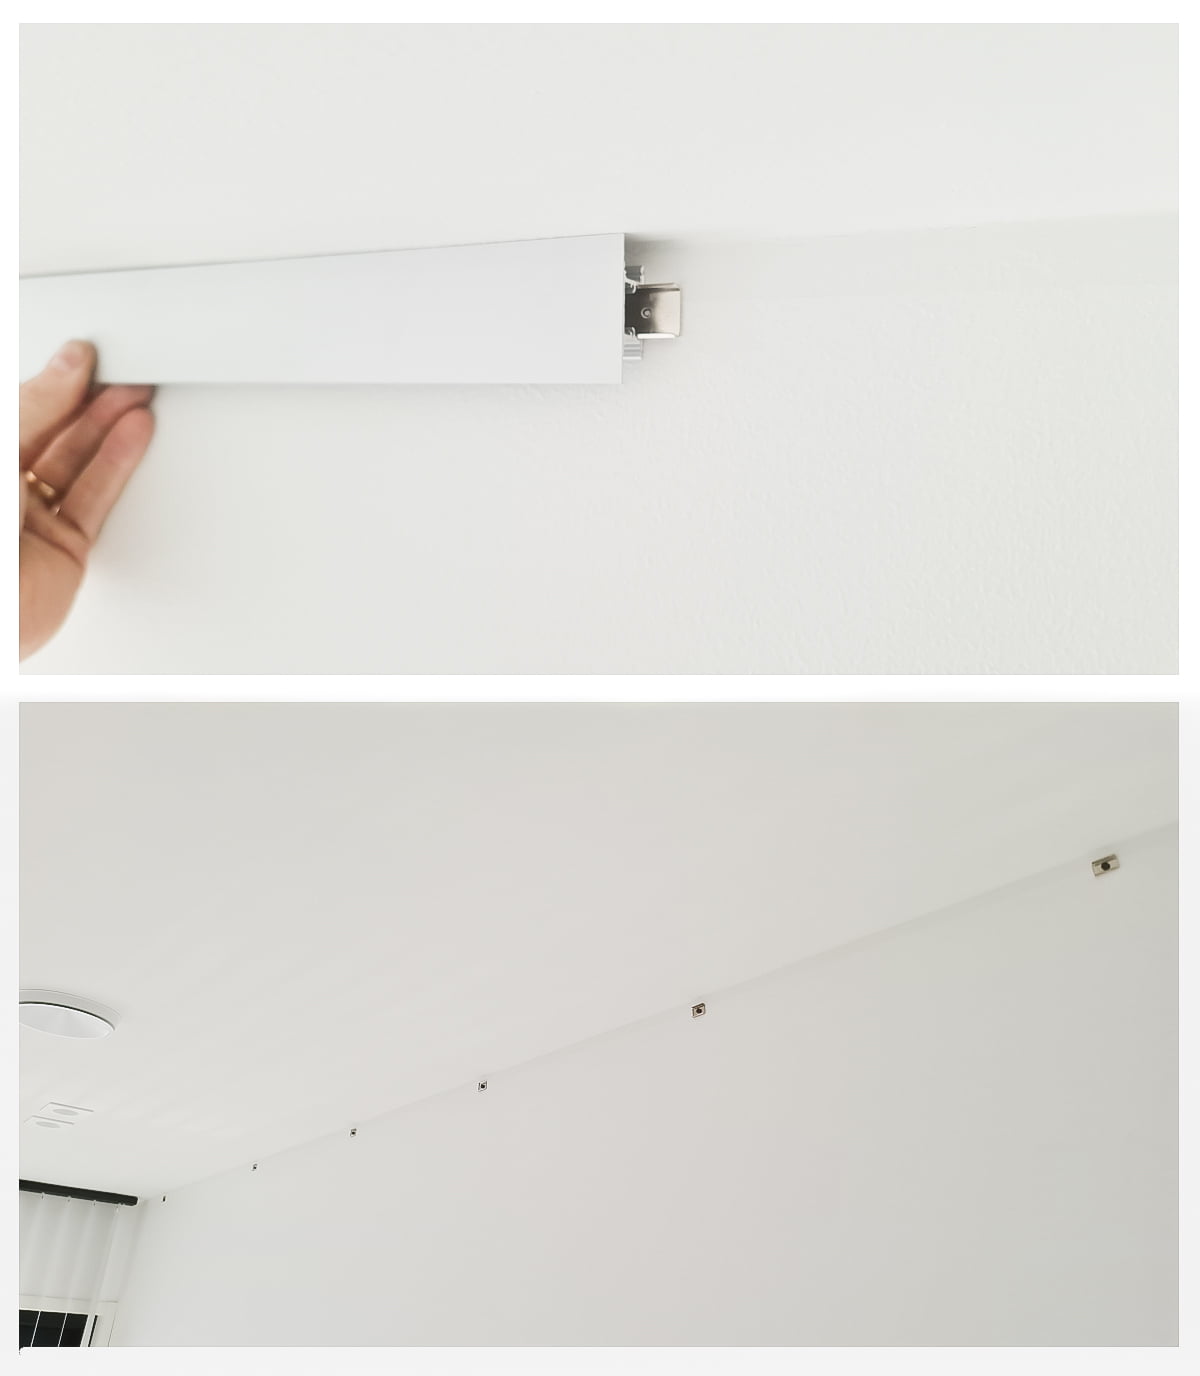
Installing the led strip
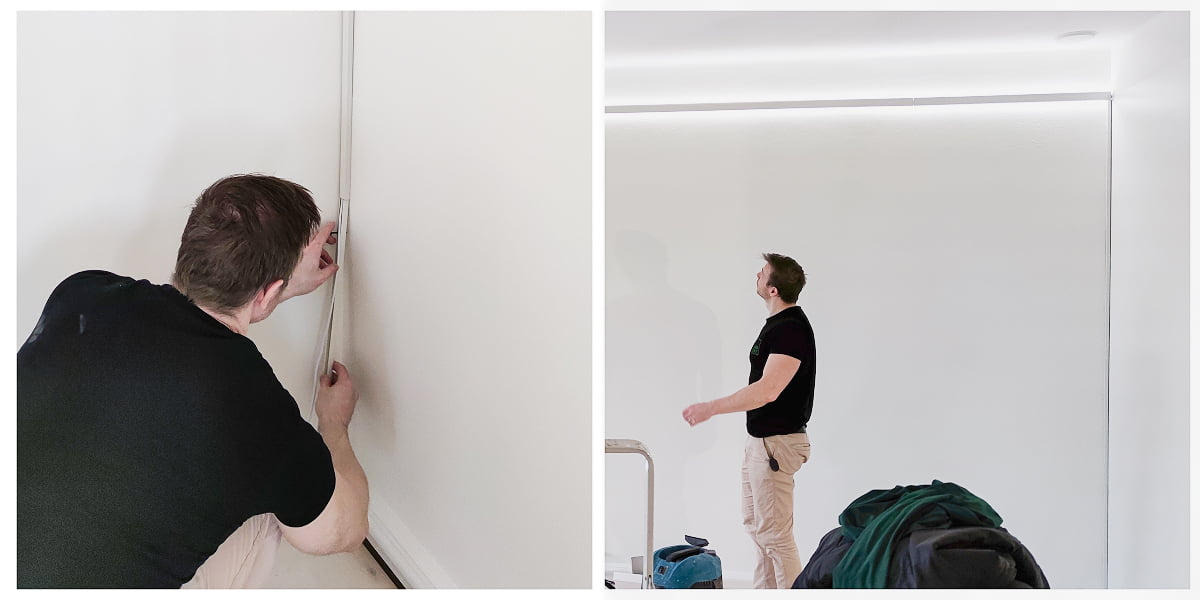
Next, the LED strip was connected to the cable hanging from the ceiling. The excess wiring was easily tucked into the channel as the first profile was pressed into place on the wall.
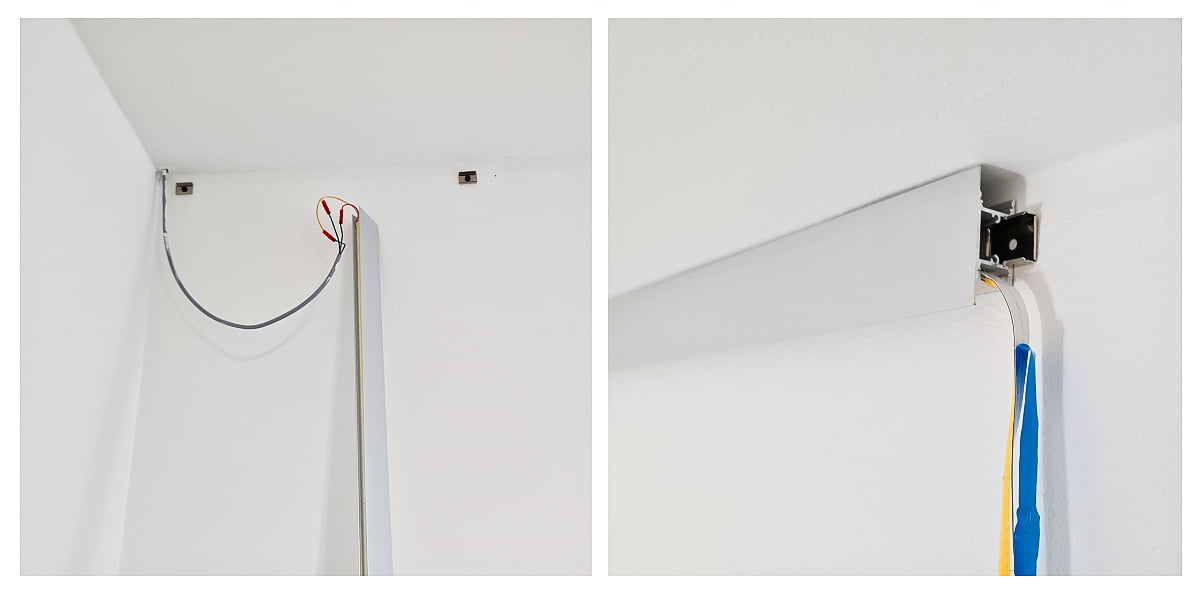
Once the profiles were mounted to the wall, the backing was removed from the double-sided tape on the LED strip, and the strip was adhered along the length of the installed profile. The first section of the profile’s diffuser cover was then slid into place (alternatively, it can be pressed in). It’s a good idea to stagger the joints between covers and profiles so they don’t align in the same spots—this improves the overall stability of the installation.
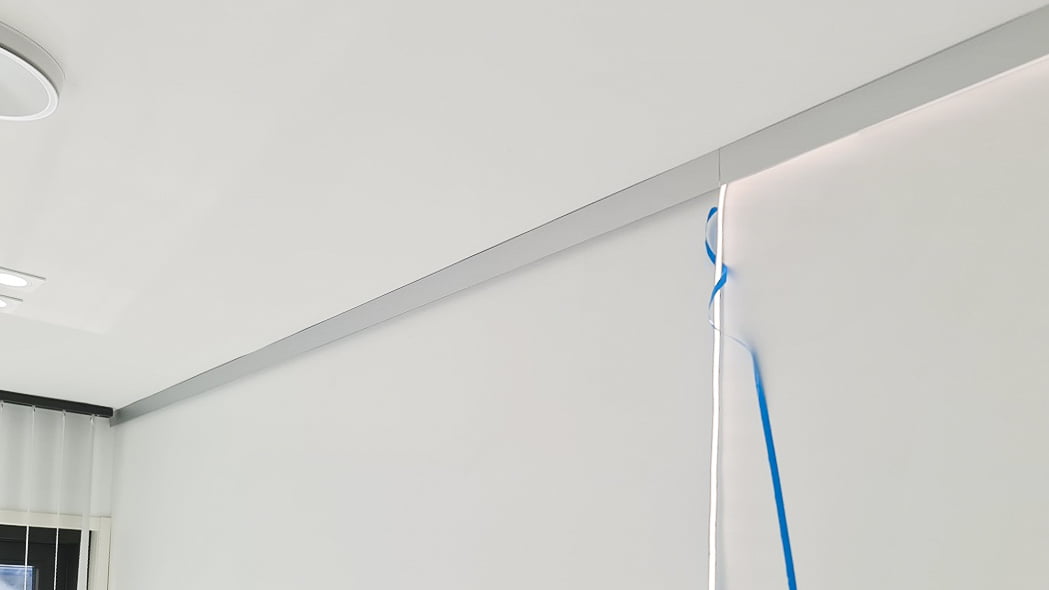
Finally, the remaining indirect profiles were pressed into place on the wall, and the end section of the LED strip was adhered. As the last step, the final piece of the profile’s diffuser cover was pressed into position. Next, the wires were connected to the driver for testing.
Versatility with colour temperature control
The colour temperature of the light can be freely adjusted to the desired Kelvin level with an easy-to-use wireless controller. For example, warm dim light in the evening helps you relax, while a more neutral and brighter light is ideal for cleaning or when you want to feel more energized. In this setup, a Zigbee controller was used and paired with a 24V 100W Zigbee driver.
The driver receives continuous power, but in this setup, there is also a traditional ON/OFF wall switch that controls the power going to the driver. It’s important to remember that if the wall switch is in the OFF position, the wireless controller won’t work because the driver isn’t receiving power. The driver has an internal memory and will turn back on with the same settings it had when it was last switched off.
If you want to schedule or program the lighting, you’ll need a Zigbee bridge or hub, such as Philips Hue or Samsung SmartThings. This site has Home assistant and Conbee2 turning on the lights at dusk automatically.
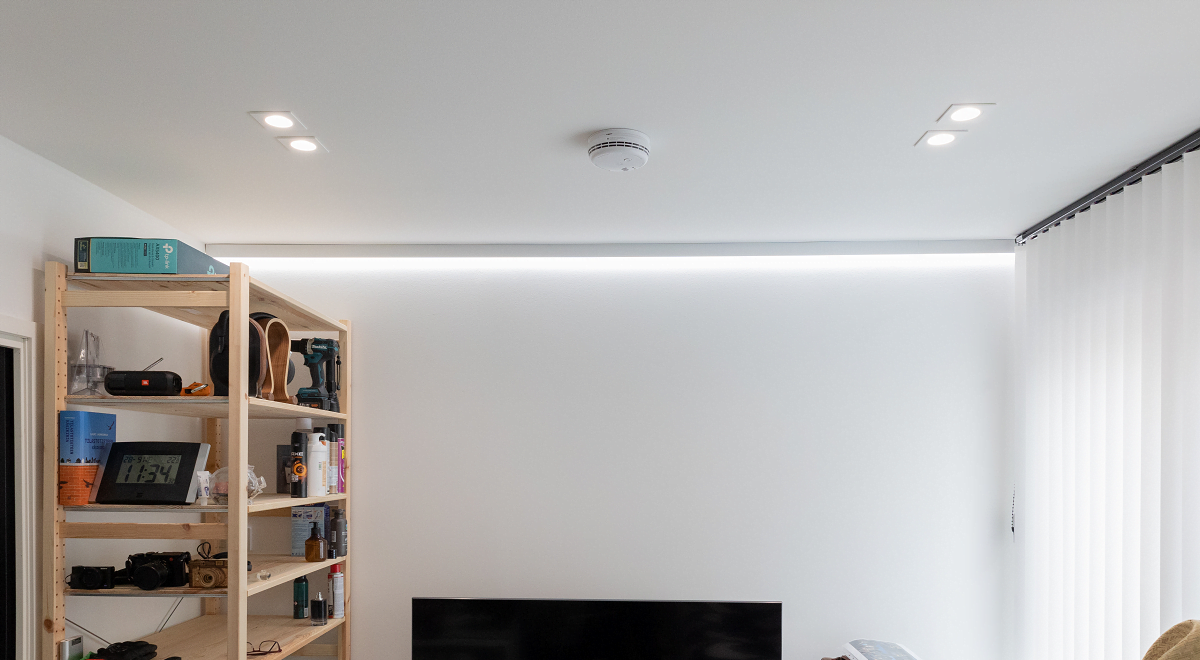
Light levels in the premises
Different spaces like hallways, living rooms, and bedrooms require different amounts of light. That said, I can generally recommend 14.4W/m LED strips as a great choice for creating ambiance in any room. For transitional spaces like hallways, a lower light level is often enough. In the evening, even a small amount of light is typically sufficient, while lights at full brightness may feel too harsh. That’s why dimming makes a lot of sense—especially in living rooms, but it also adds comfort in hallways and bedrooms. Plus, when dimmed, LED strips consume less power, helping save on electricity.
Indirect light on the ceiling as a retrofit?
This example covered the installation of an LED strip and profile mounted against the ceiling in a setup where the cable was already in place. If there’s no existing cable near the ceiling, it can be routed down along the corner and connected to a driver that plugs into a standard wall outlet. The cable running in the corner can be neatly concealed using a white cable duct, available at any hardware store. The driver on the floor can then be hidden inside a cabinet or bookshelf. A wireless switch can be placed freely wherever you like.
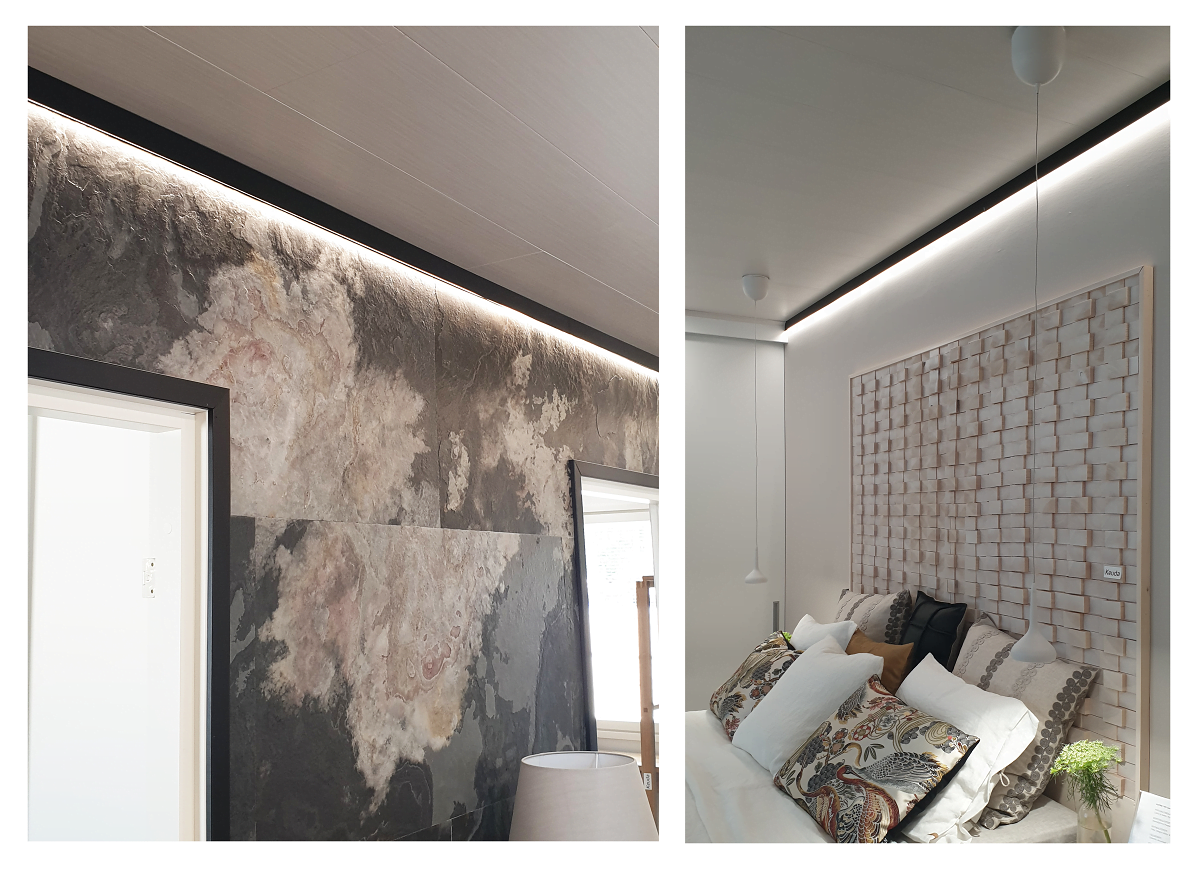
The same INDIRECT2 profile can hold two LED strips if more light is needed. There’s a separate article about installing it: Indirect lighting for the living room.
If you’re interested in custom-sized LED strip lighting, read more about our LedPaja service and request a quote for pre-installed LED strips tailored to your needs.

