Summarize
- The lighting in the living room was inadequate despite the large windows
- The renovation included indirect lighting and spotlights
- The lowered enclosure allowed for new wiring and installation of luminaires
- Lighting solutions used wireless control and adjustable LED strips
- The total cost of the renovation was 1 500 euros, 20 hours of work
Need renovation – too little light on the window side of the room
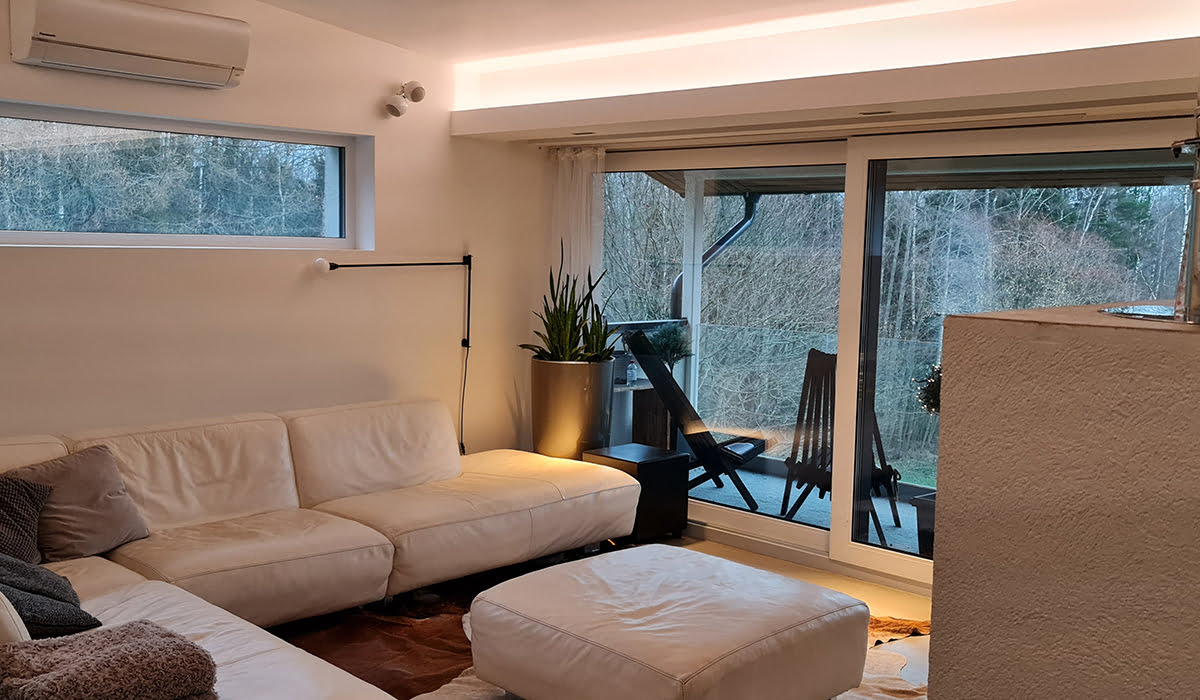
The starting point for the renovation was additional lighting in a living room of around 32 square metres. Five years ago, the lighting design had relied too much on large glass walls and an open living room/kitchen area, which was thought to provide plenty of light. In practice, however, the lack of ceiling lights made us think about additional lighting. Large windows don’t help in Finland for more than half the year, and for the other half of the year the apartment had too little light. On one side of the large room there was wall lighting.
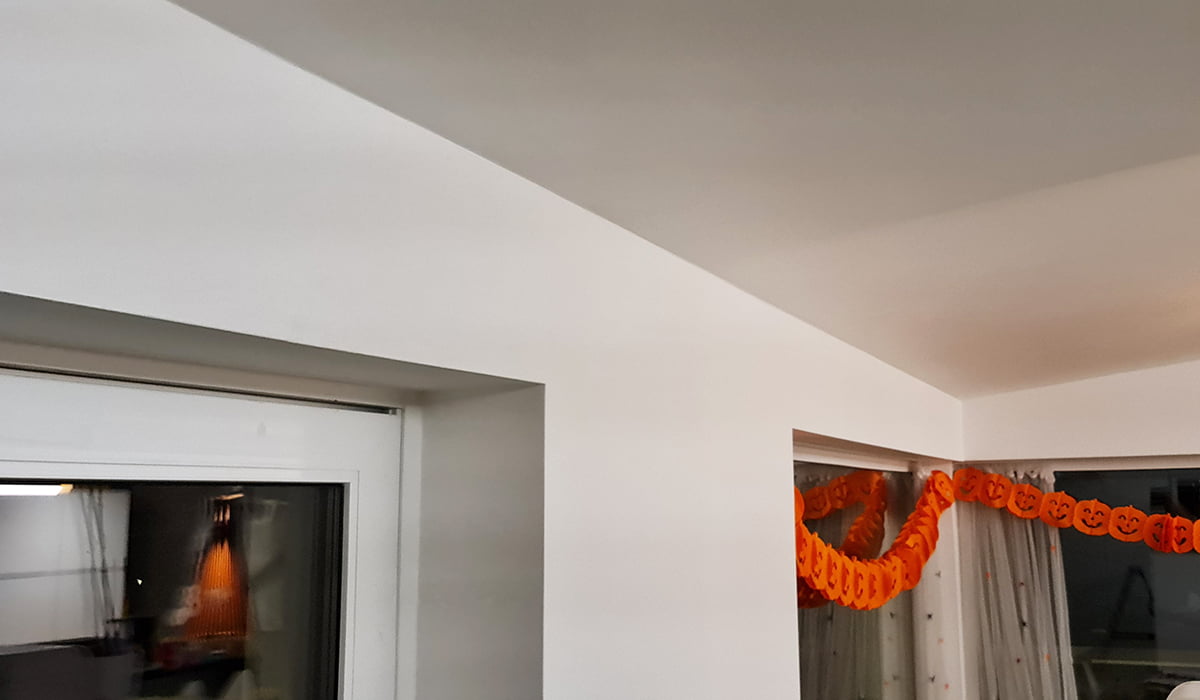
It was decided to increase lighting by implementing indirect lighting and spotlights
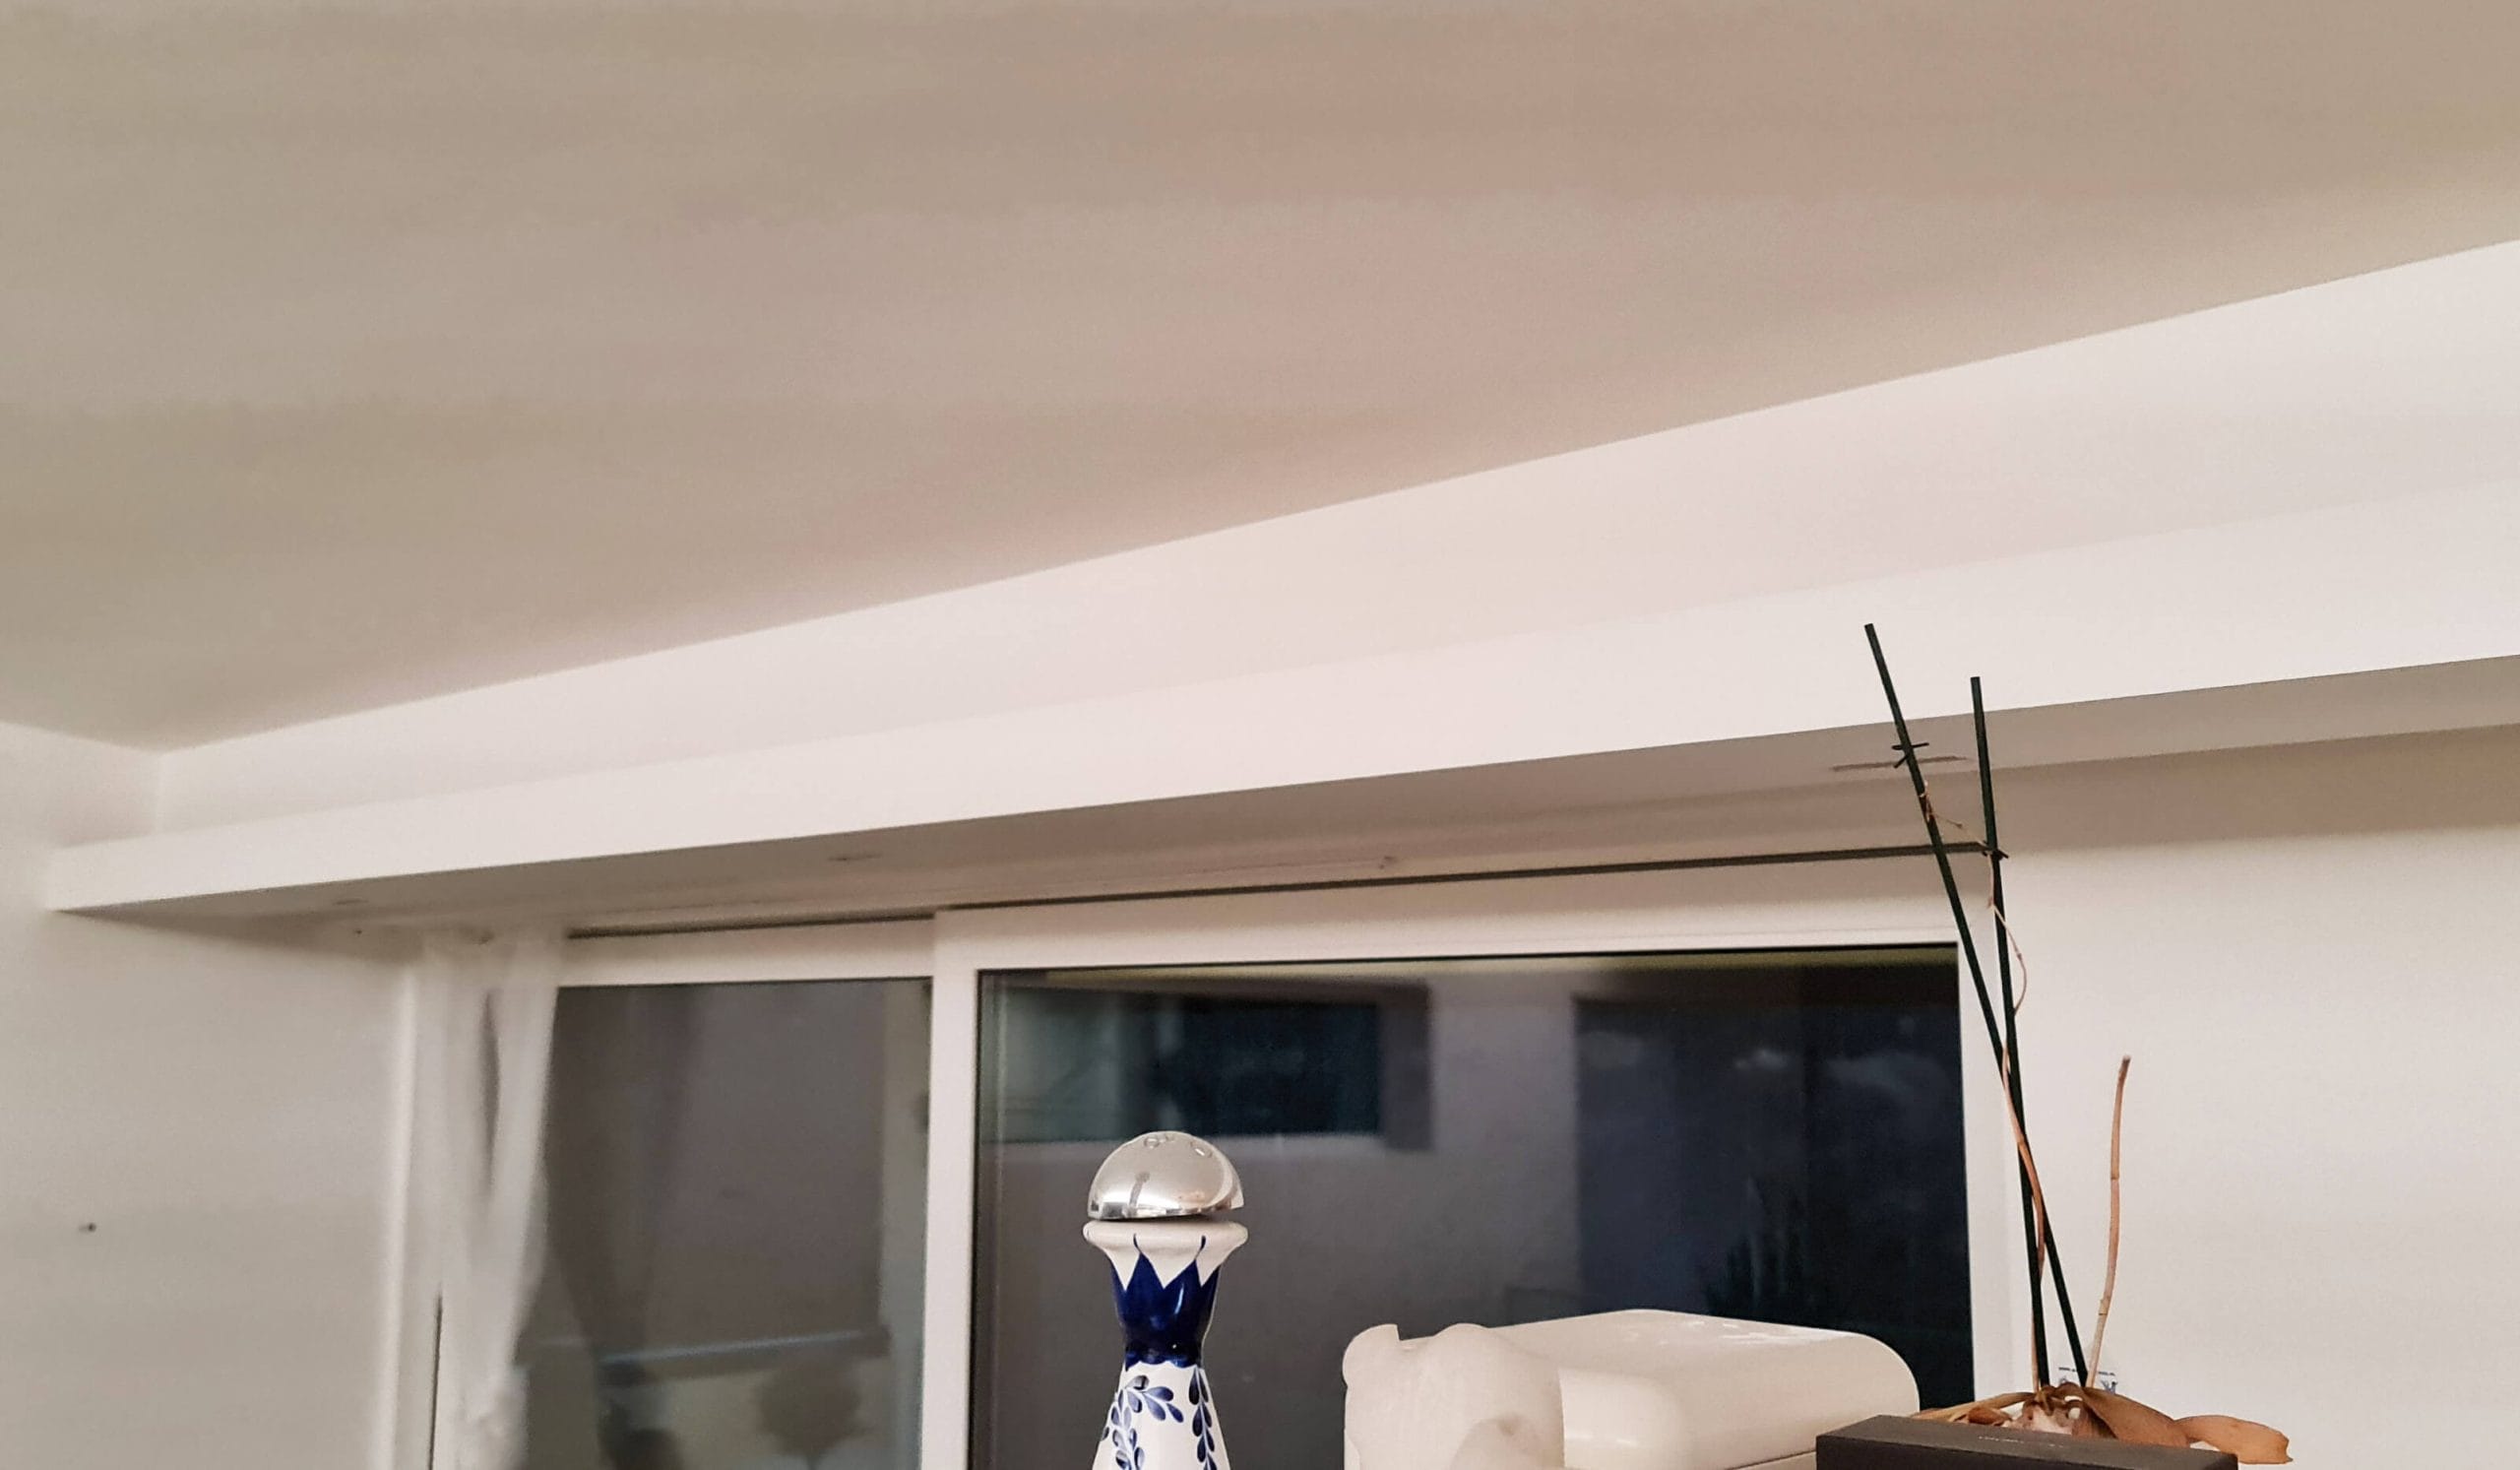
When planning to add lighting, both ceiling and wall mounted lights were considered as options. As there were no ready-made electrical wires in the ceiling, retrofitting would have been very laborious. Adding wall lights was also considered a challenge. The design decided to build a new drop-down box. This allowed new wiring to be installed inside the enclosure. The shape of the enclosure was designed to provide both indirect lighting with LED strip and direct downlighting. The downlight enclosure was designed for the full wall length, i.e. eight metres. The dimensions are shown below in the main image of the downstand. The gypsum boards, marked in light blue, formed both the housing for the submersible LINJA 5 spotlights and the trough for the indirect colour temperature controlled CCT-led strip lighting. The height of the enclosure is 295 mm, as this was the space between the top edge of the window and the roof. A 120 mm glare shield was added to the front edge of the enclosure to direct the light efficiently towards the ceiling. The roof rises towards the ridge by 25 mm, which was also taken into account in the dimensions and in the cutting of the frame timbers. A 48×48 timber frame was used. A recess of about 15 cm was left between the wall and the enclosure (on the left-hand side of the picture) for the curtain rails. This also placed the enclosure in the right position for the light opening angle. In the future, it will be possible to add more light to the wall slit if necessary.

Choosing living room lighting – natural and glare-free light
The lighting was to be natural and glare-free, with a fair amount of light. The LINJA 5, 10W, 3000K with a narrow beam in the LedStore range was chosen as the spot. One spot gives 1000 lumens of light, with an opening angle of 15 degrees. The powerful light does not glare at all to the sides. Each spot has a luminaire-specific, dimmable power supply.

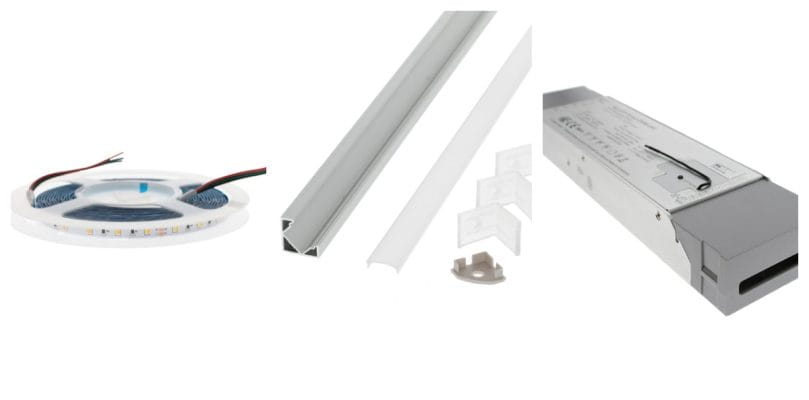
For the LED strip lighting through the roof, a 14.4 W/m colour temperature controlled CCT LED strip was chosen, which illuminates approximately 1000 lumens per metre in the target lighting. For indirect lighting, the illuminance is estimated at 500 lumens per metre. The illuminance of indirect light is highly dependent on the colour and material of the reflective surface. A 45 degree angle profile with a plastic cover was chosen to direct and protect the LED strip. A 200W RF transformer for wireless control of the Led strip power supply was concealed in the chute.
The living room renovation begins – making a drop-down ceiling enclosure
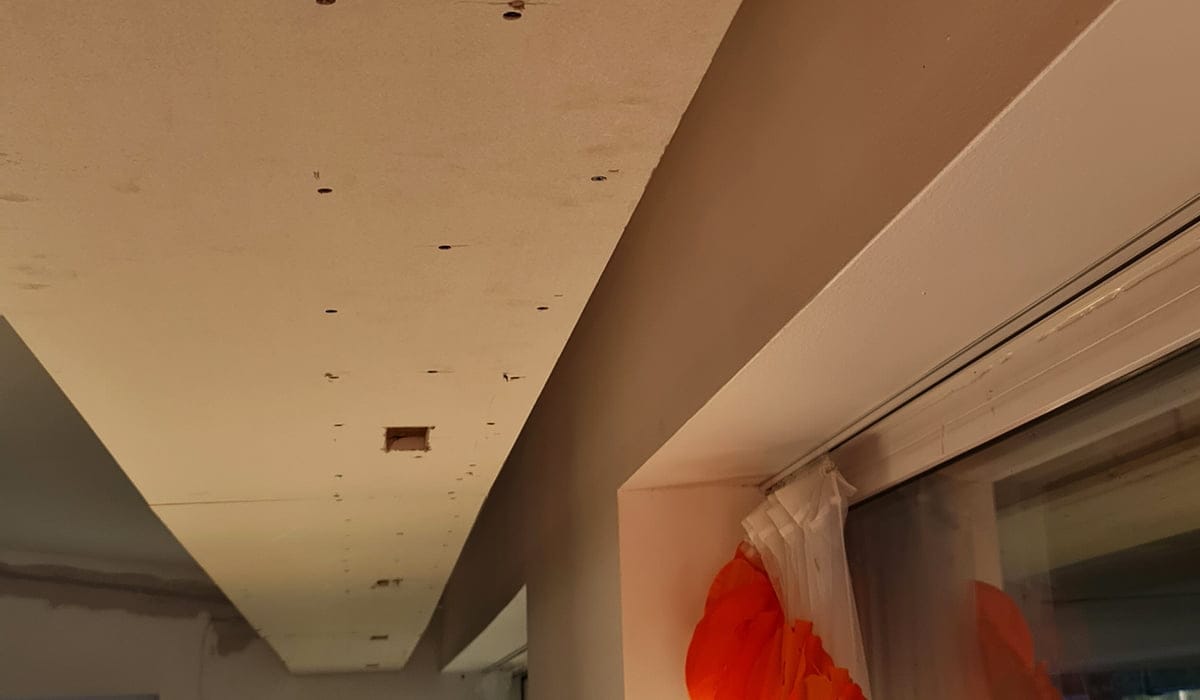
Assembly of the lower deck started by cutting the frame timbers and plasterboards to the correct size. The frame was initially assembled on the floor, one edge at a time.
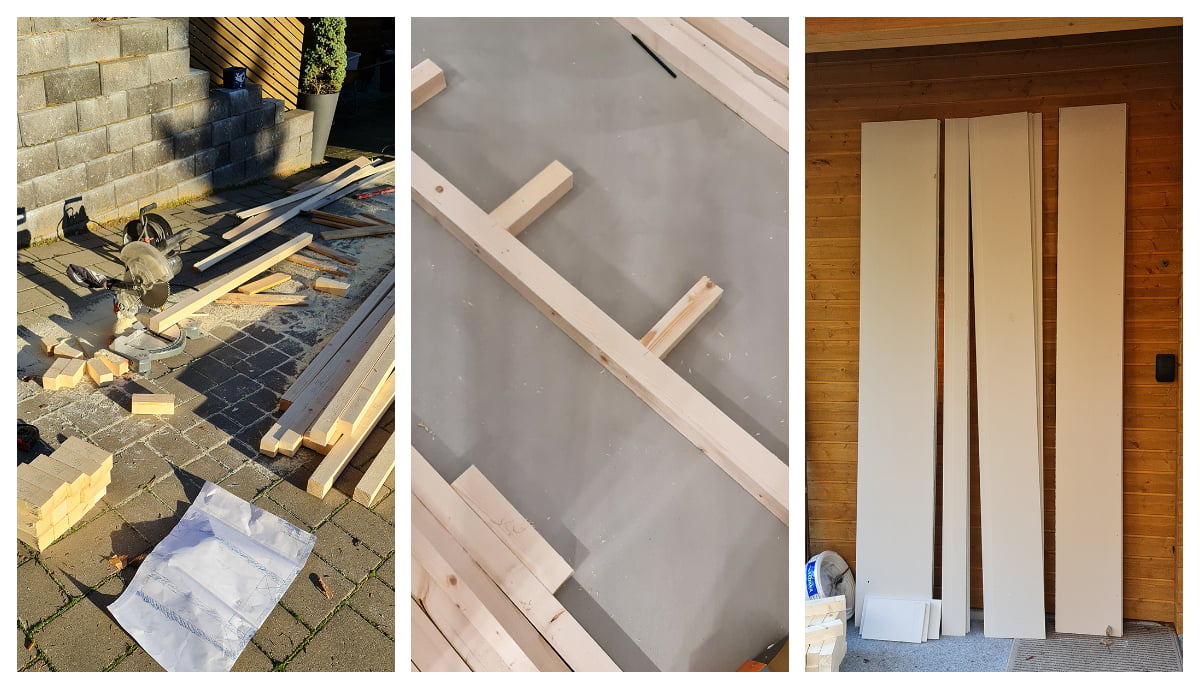
The frames were attached to the ceiling in three sections. 100×50 screws were used to fix the frame, and the roof fixing points were hit on the roof runs. The electrical wiring for the lights was completed at this stage.
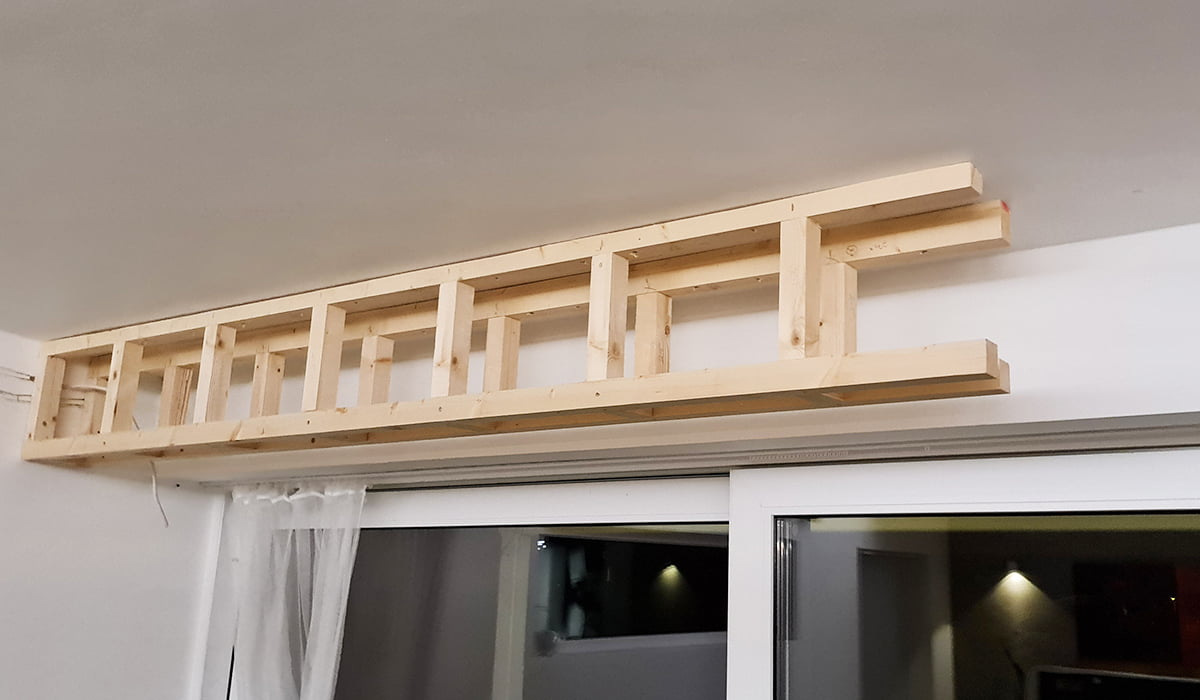
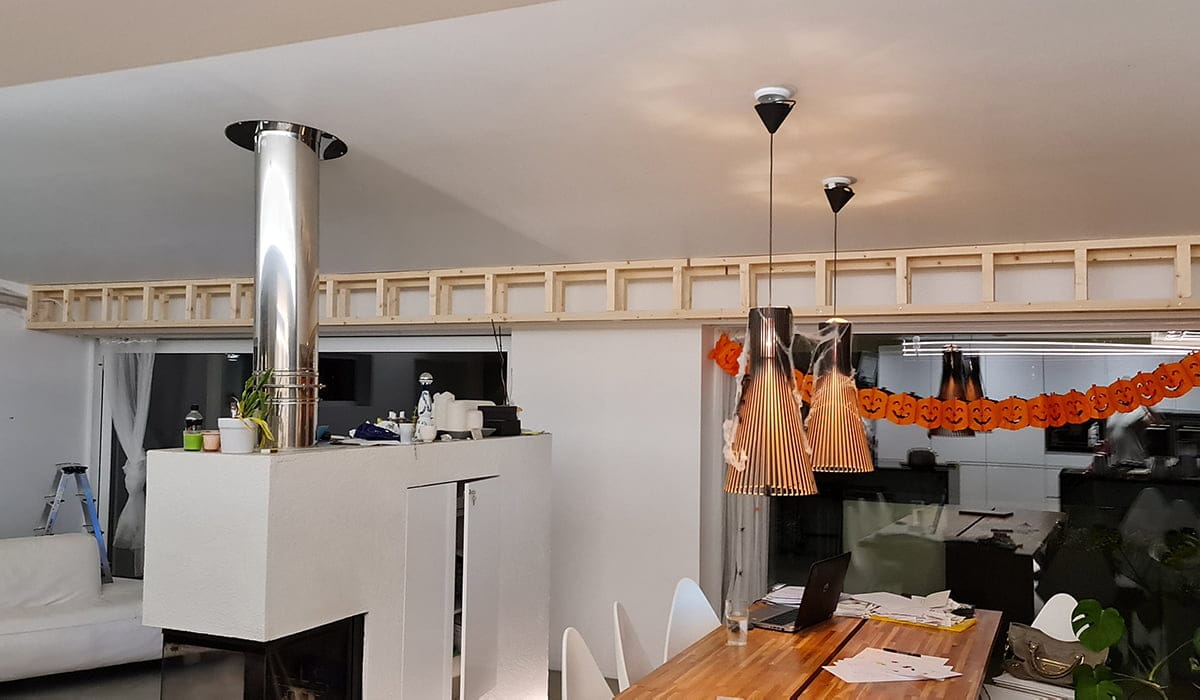
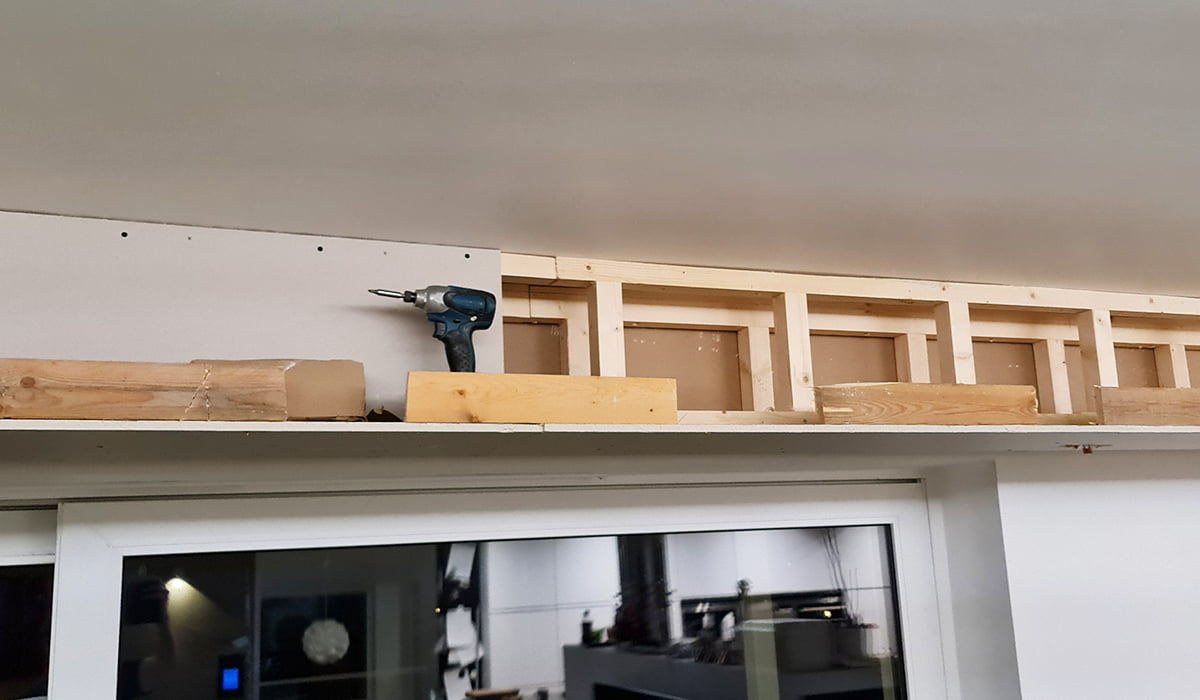
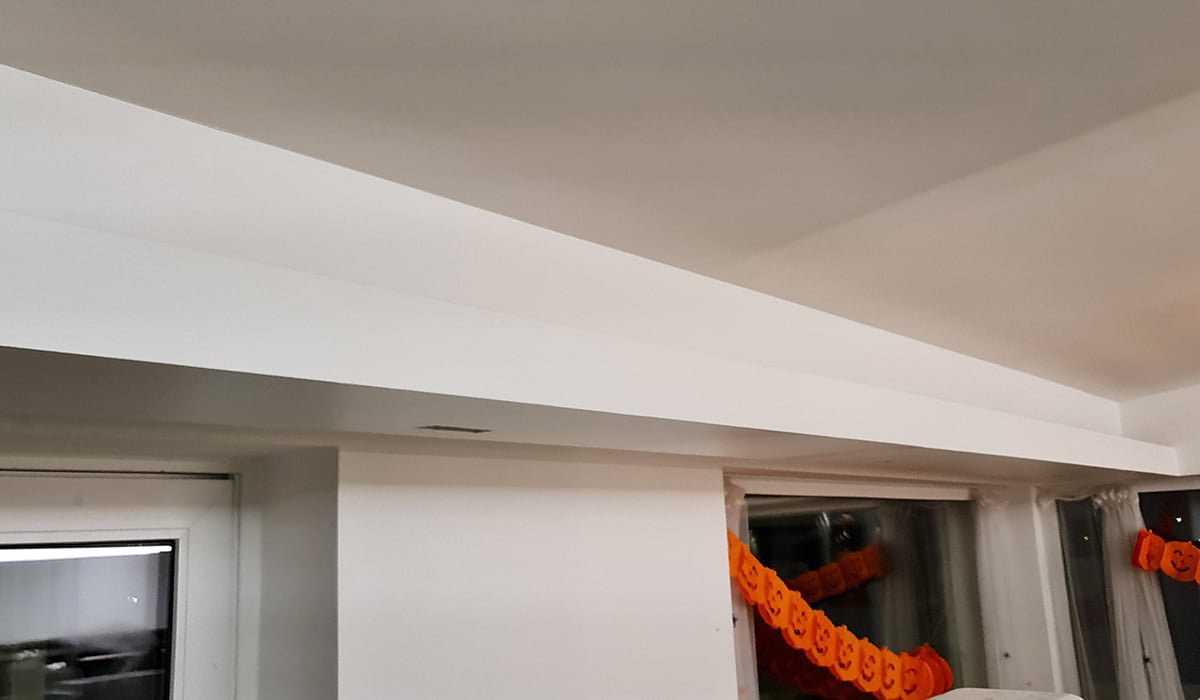
After fixing the frame, the plasterboard enclosure was made. The cut-to-size plasterboards were fixed to the frame with 80×50 screws and levelled.
The renovation is progressing – installing lighting
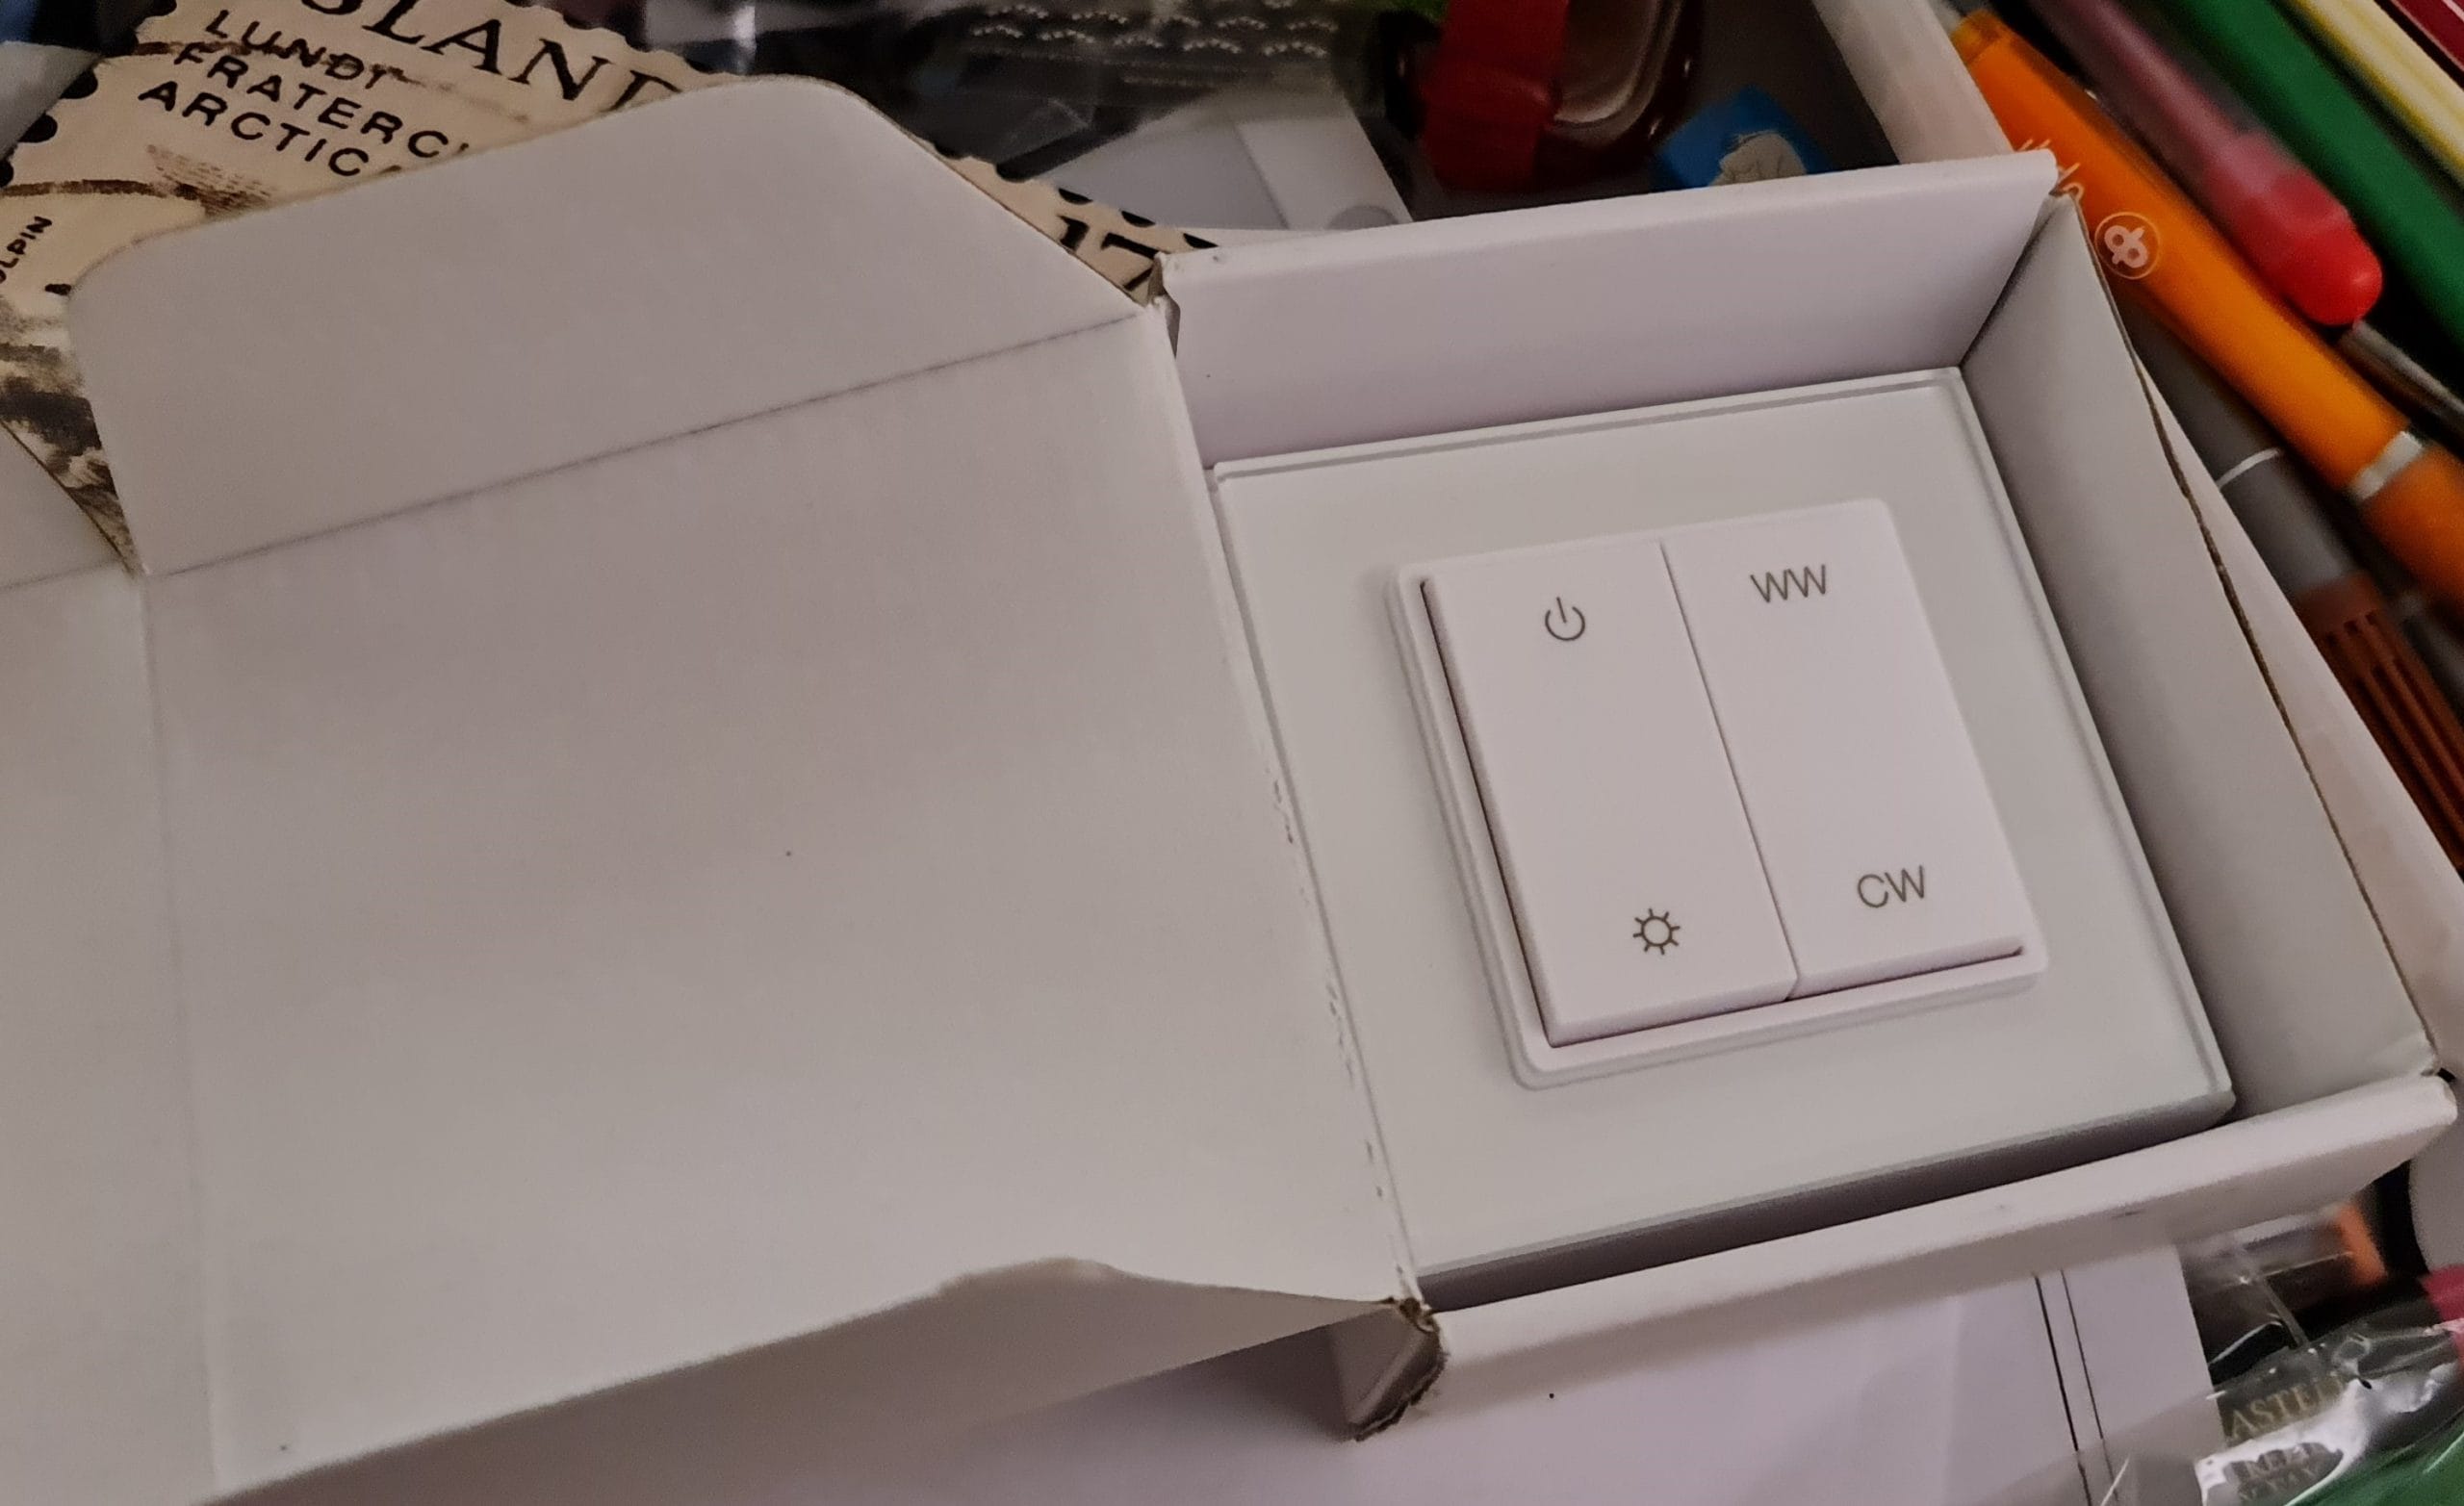
It was important that the lighting could be controlled without the need for wired wall switches, as the installation of new light switches would have been laborious. For the indirect LED lighting, a 14.4 W/m CCT LED strip with colour temperature control was chosen, with a wireless button for changing the colour temperature. At the time of the picture, the positioning of the switch had not yet been decided. The WW and CW buttons on the right adjust the colour temperature of the light continuously between warm white and cool white. From the left-hand button, the upper one turns the lights on and off, while the lower one, with a long press, brightens and dims the lights beautifully evenly.
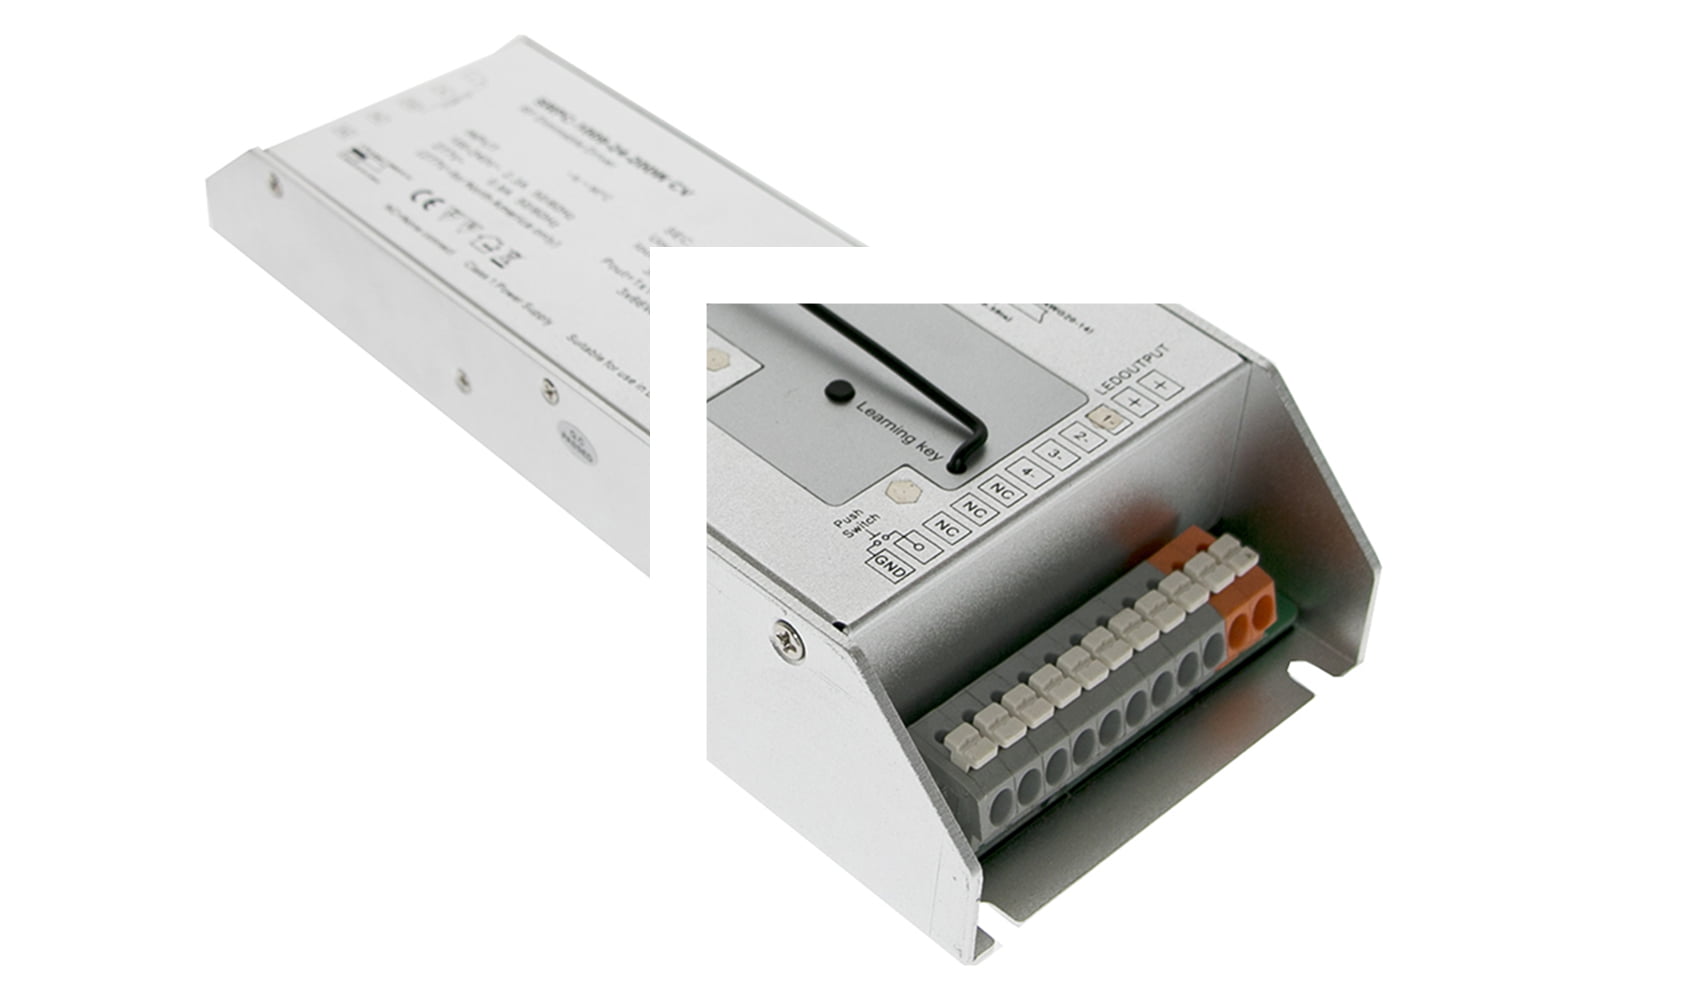
The LED strip was mounted in a 45 degree angle profile and the transformer also fit well in the chute, despite its fair size, 270x79x39mm. The LED strip is colour temperature adjustable and has three conductors, which should be taken into account when choosing the transformer. The wireless control transformer also has a learning key for pairing wireless control. Thus, a separate receiver is not required.
The total length of 8 metres was realised with three profiles of 2.5 metres, and a further half-metre section was cut. One roll of led strip was not enough, so an additional 2.9 metres of CCT led strip was rolled onto the five metre roll of strip, and the single strip was mounted to the aluminium profile using a pre-attached adhesive on the led strip. The plastic sleeve settled well on the profile. The LED profile did not need to be fixed to the bottom of the trough, so its orientation and placement can still be carefully adjusted according to what proves best in use.
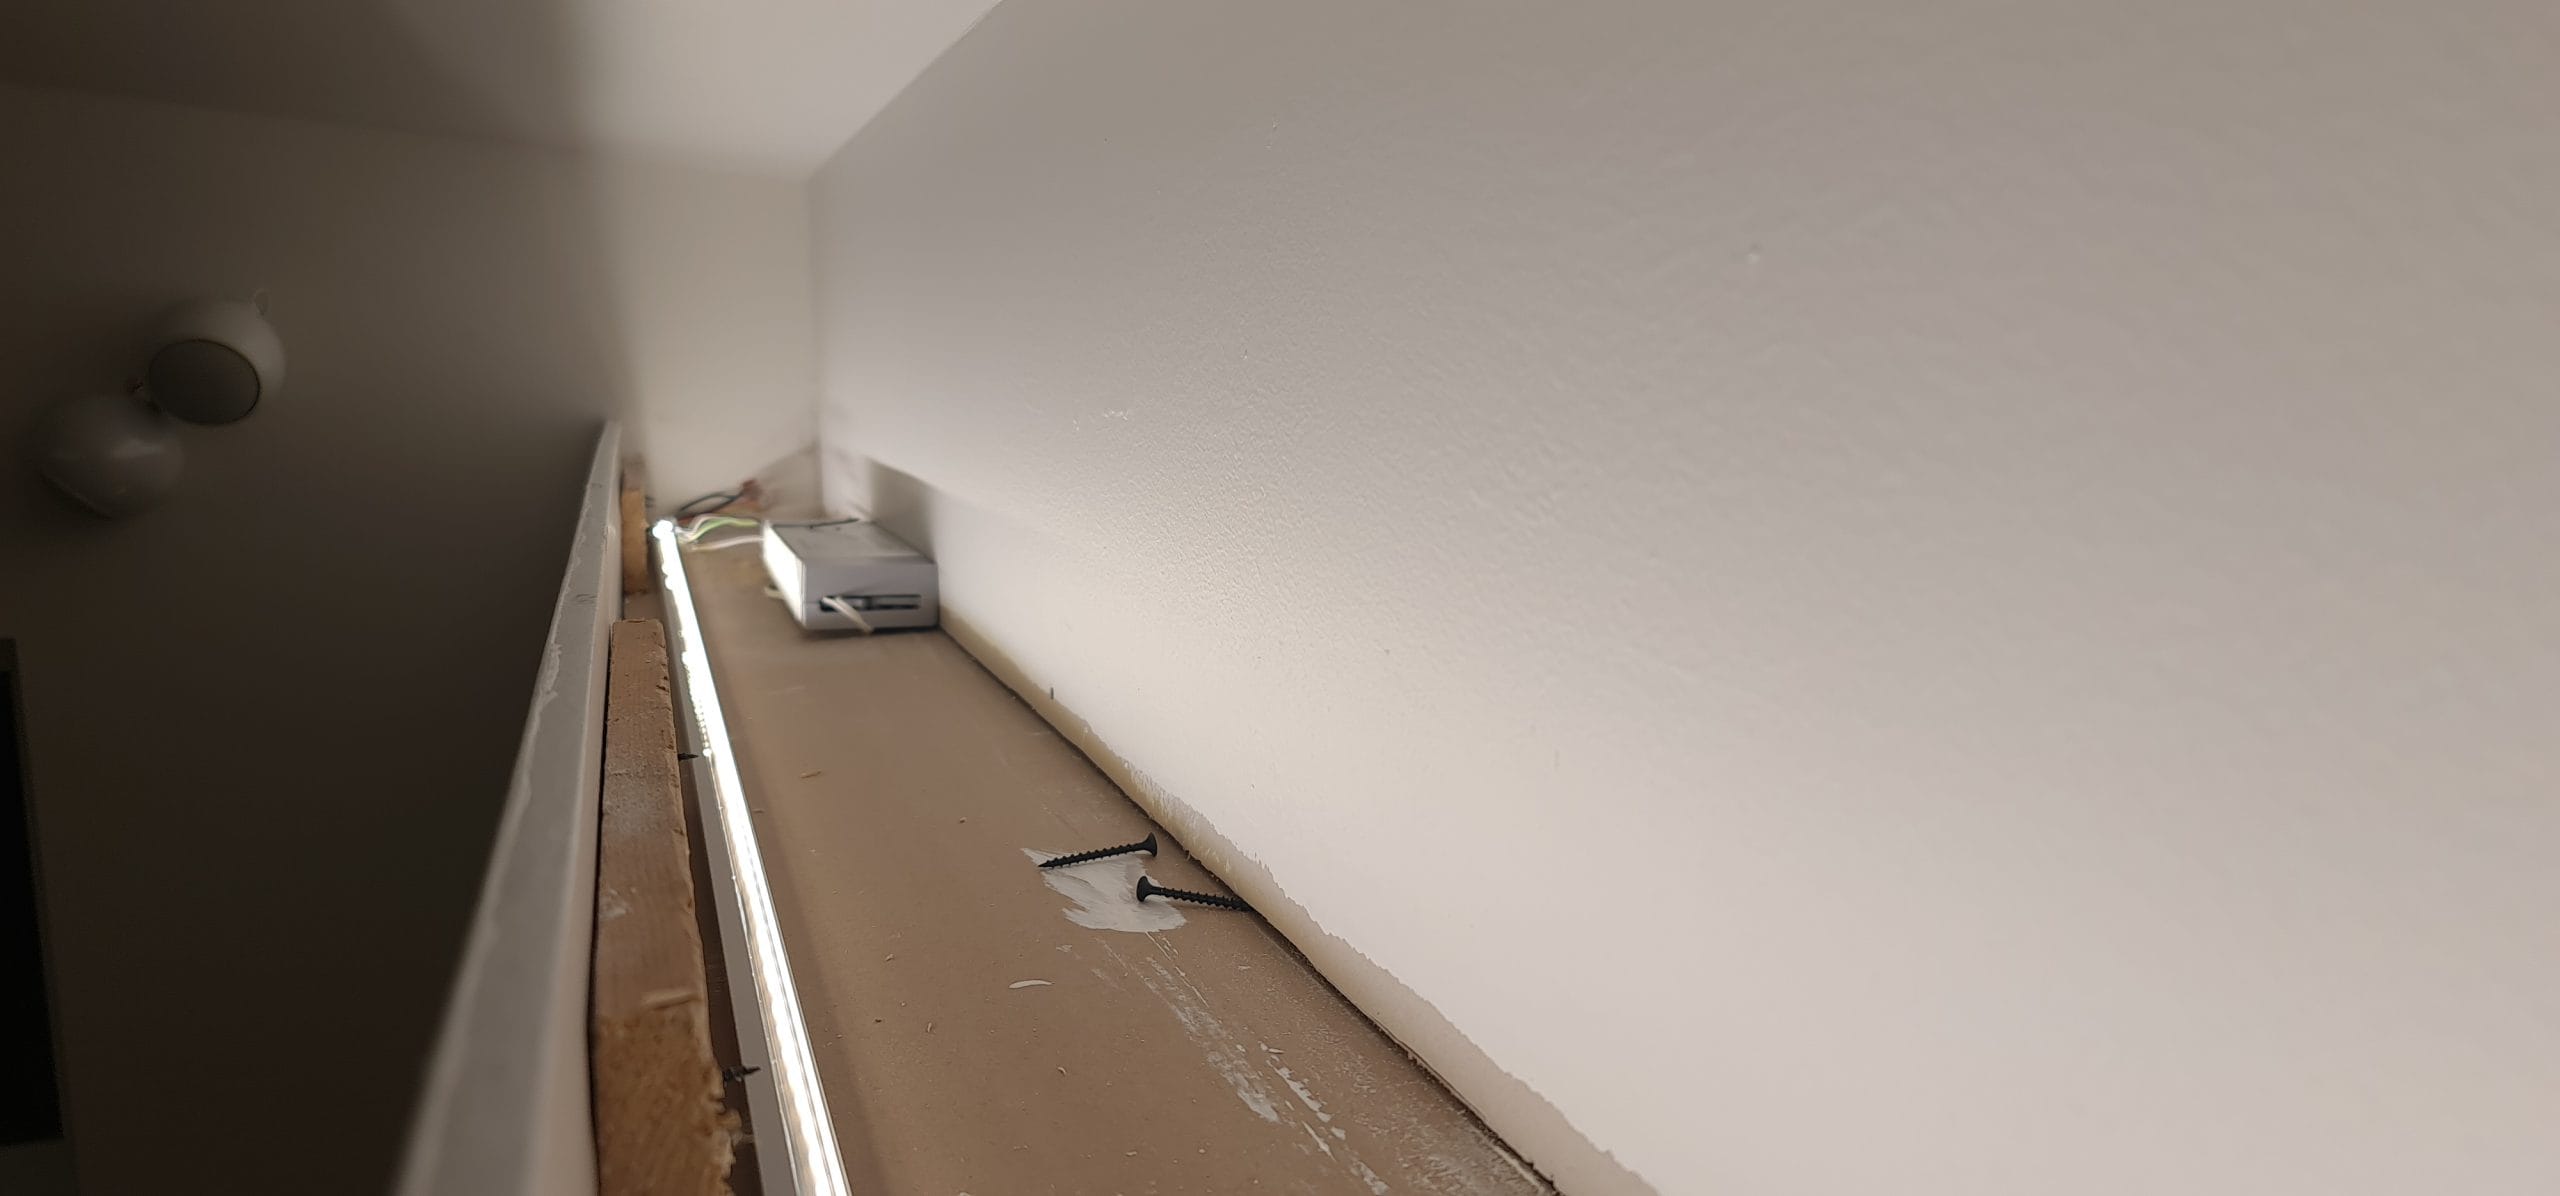
LINJA 5 spots have their own luminaire-specific TRIAC dimmable transformers. In this case, when a new, wired dimmer was not installed, the spots were daisy-chained and a primary side wireless receiver and wireless pushbutton were installed.
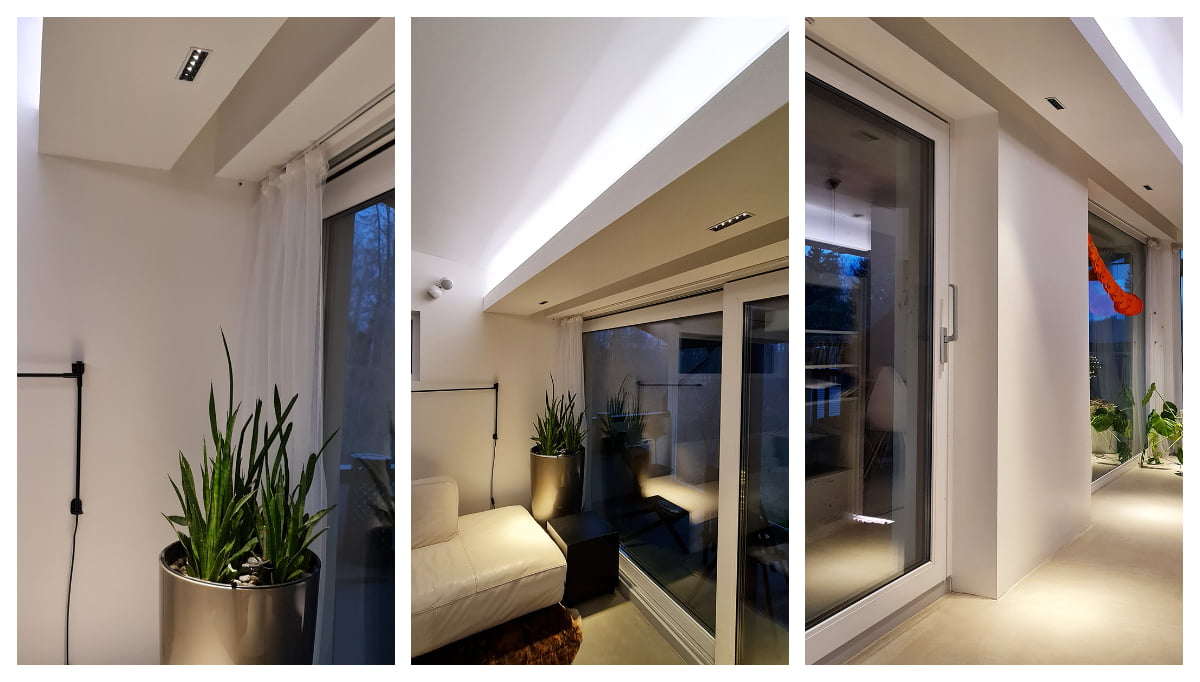
The end result is a success – the budget needed was €1 500
The whole project was carried out by our own efforts, only the electrical installations required a professional to do an hour of wiring. With all the equipment and lighting, the cost was €1 500, and it took 20 hours of personal time. If the work had been done by a carpenter, the estimate would have been around €1 000. Once the indirect LED strip lighting and spotlights were installed in the living room, they could be used either separately or at the same time.
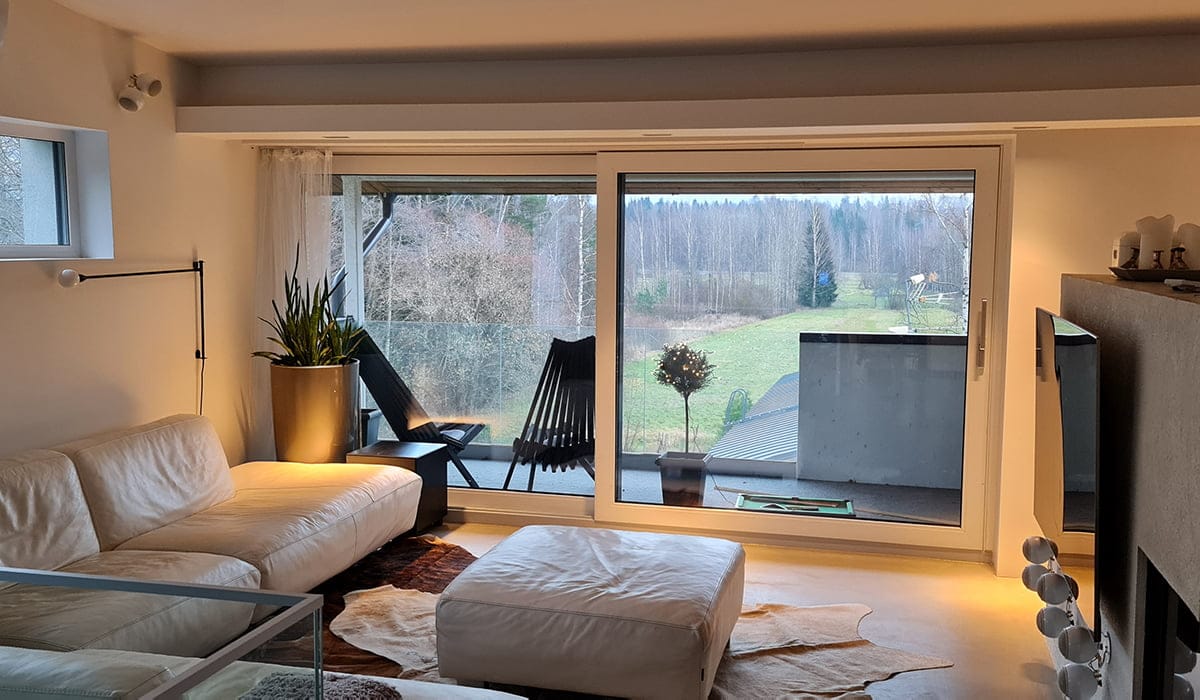
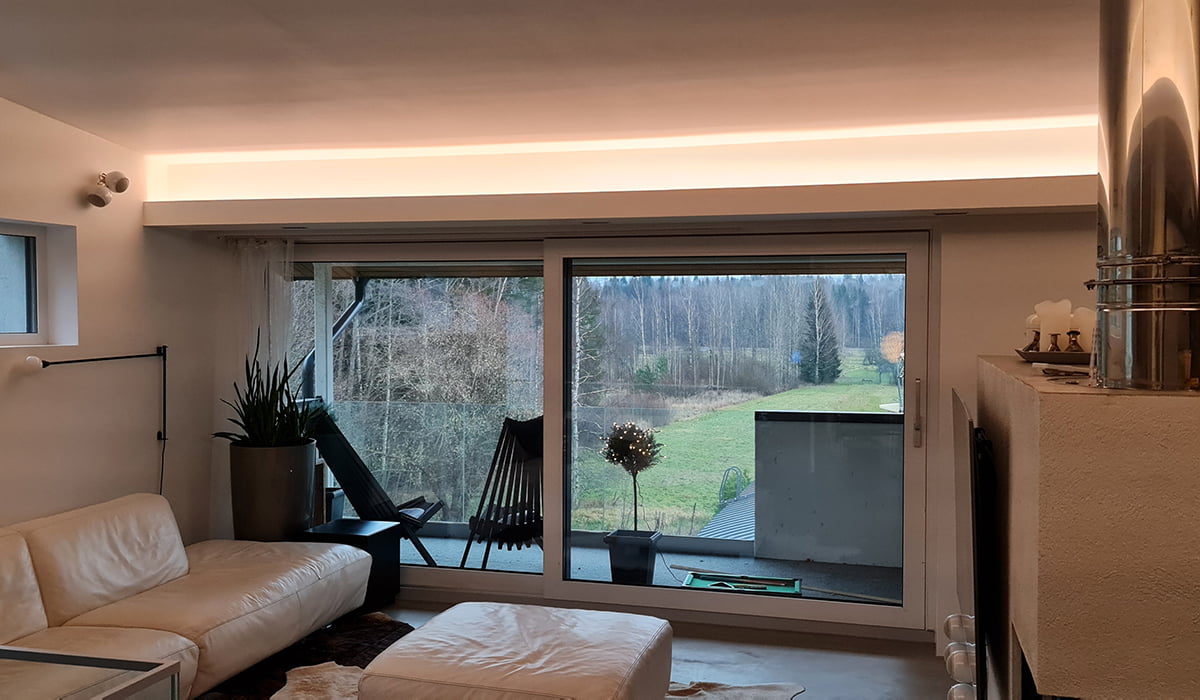
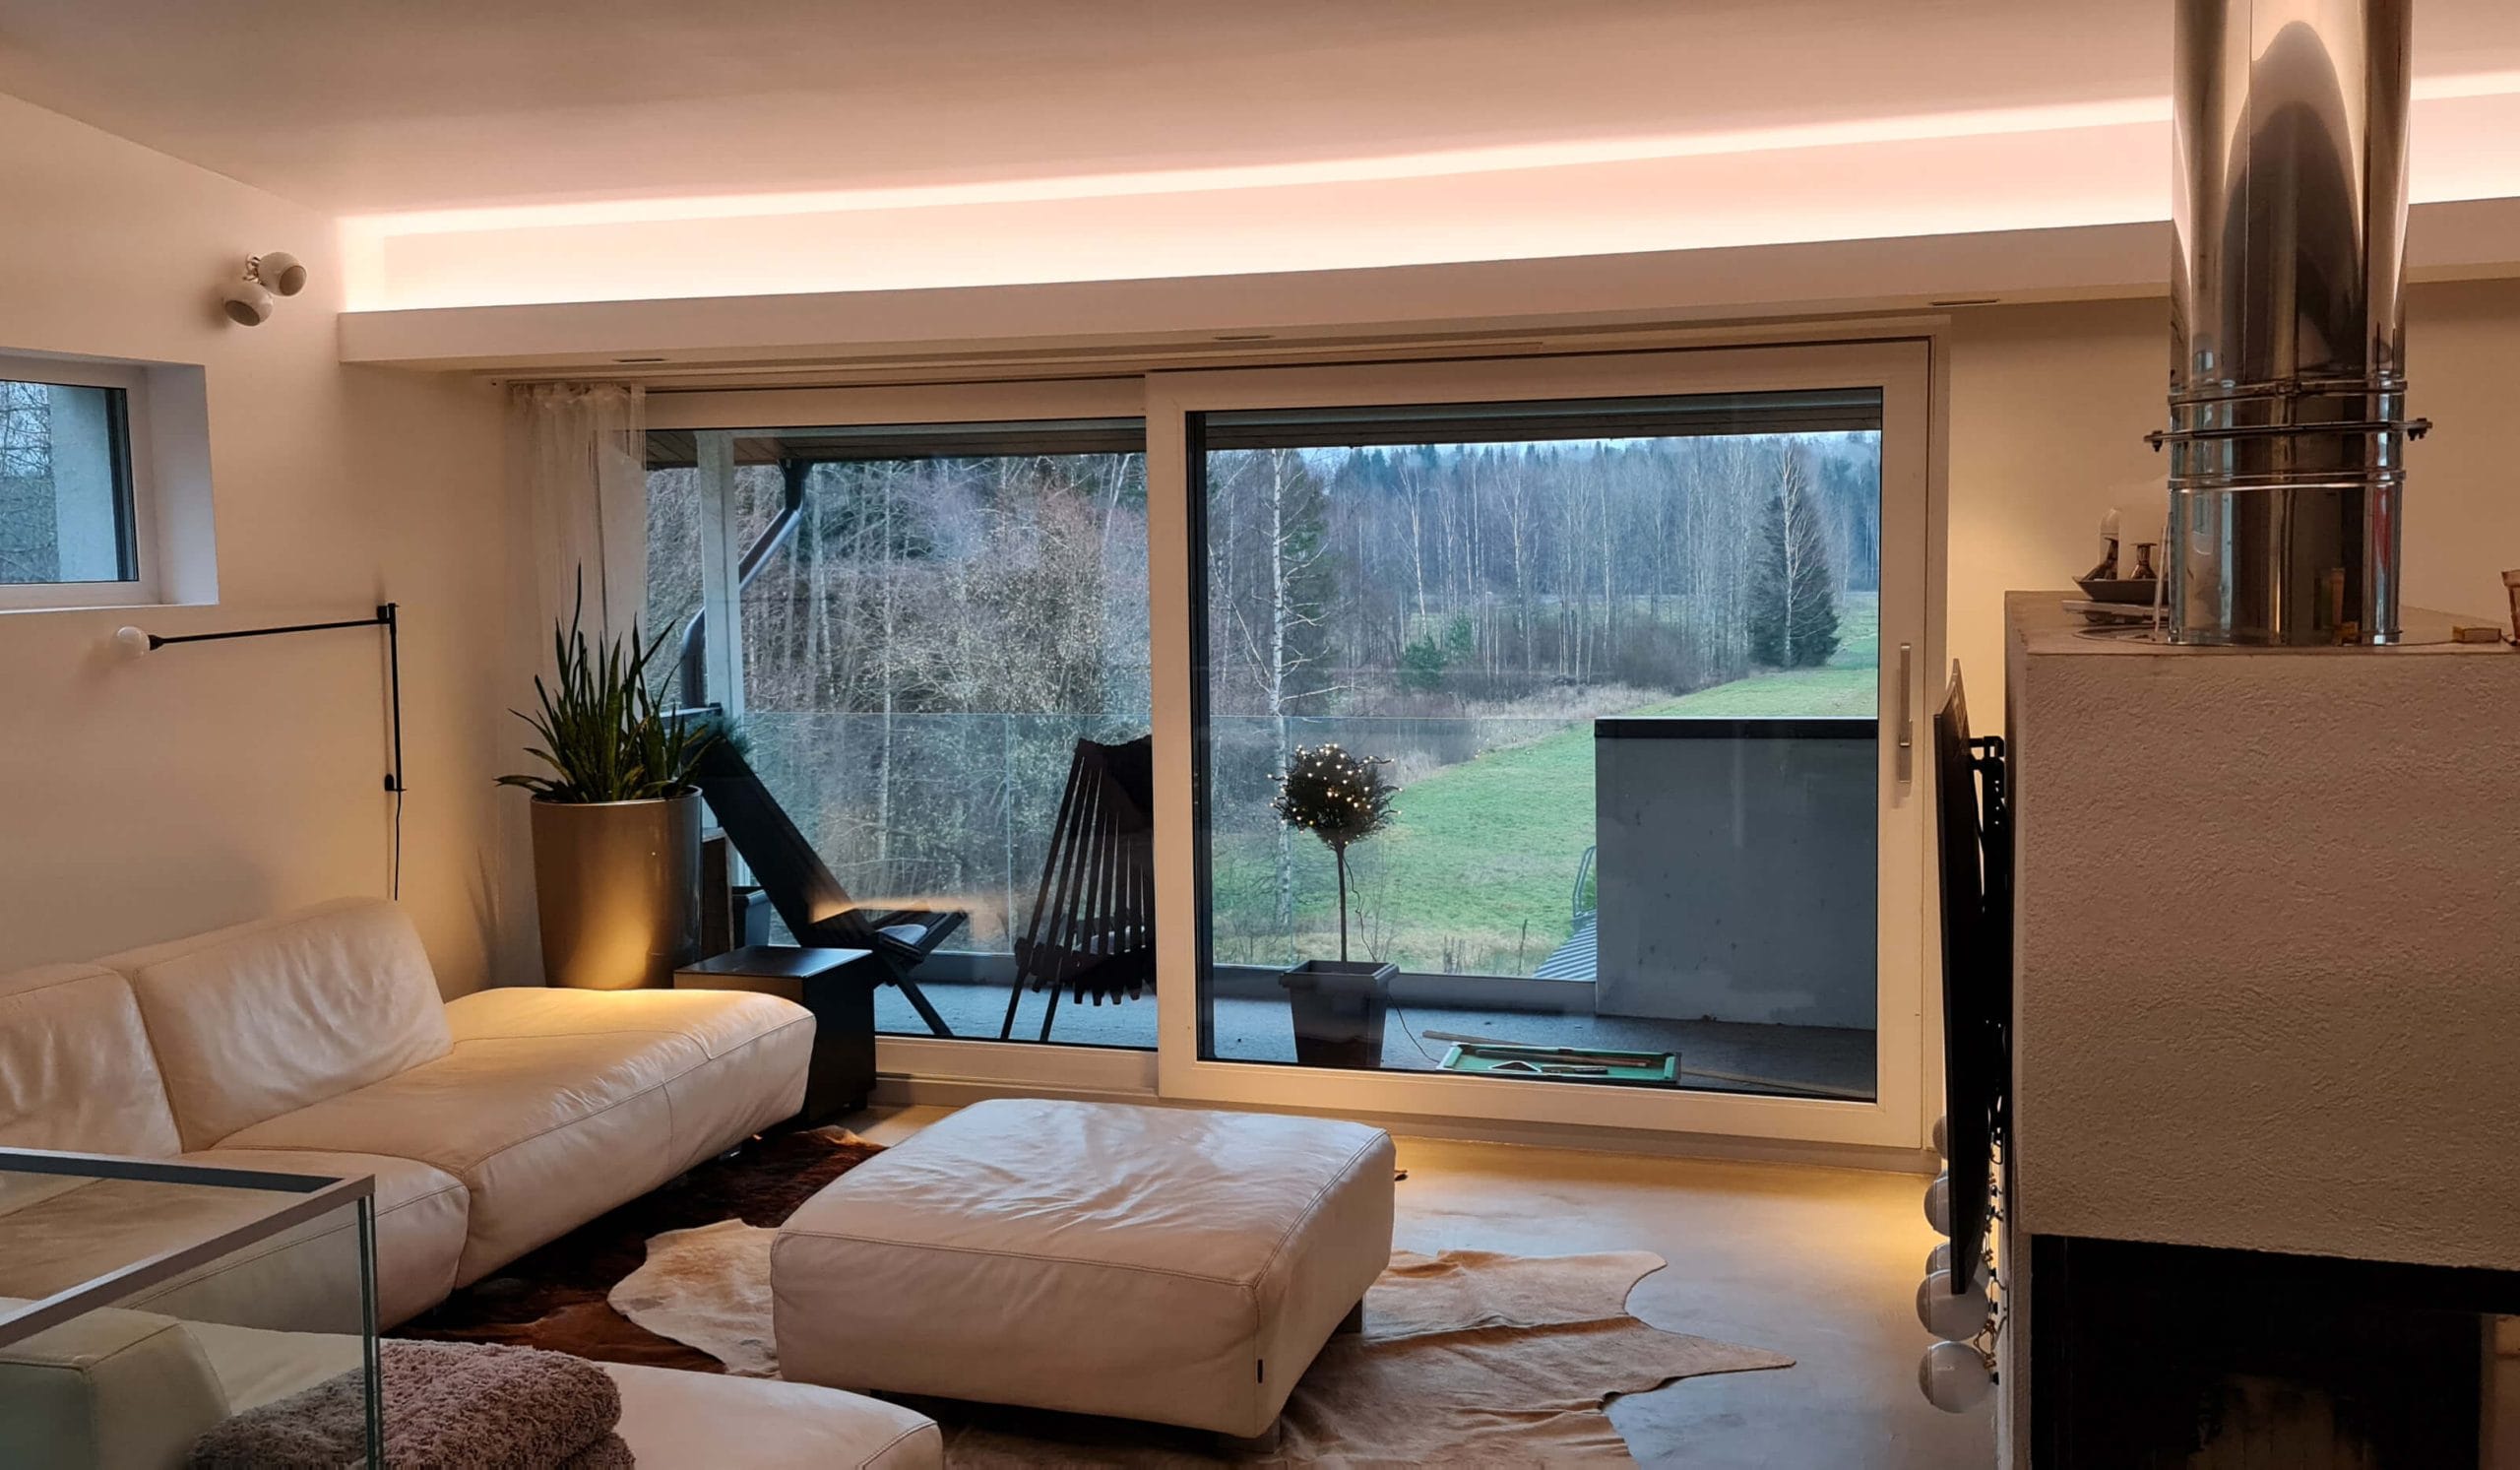
The renovation included a stylish replacement of the LED lighting in the living room. A strip light was installed to provide indirect light towards the ceiling, bringing a beautiful extra glow to the room. In the same way, indirect and glare-free lighting can be used in a bedroom, for example. LINJA 5 can also be used in a variety of other interior and exterior applications, such as terrace lighting. Read more in our renovation category. There we have compiled illustrative articles on different ways of adding LED light, both as a spotlight and as indirect lighting. At Lamp Shop Led Store,we can help you plan your lighting renovations and recommend a suitable electrician. In our lighting design service, we design lighting concepts for private houses, among other things, on a daily basis, and make LED strip lighting ready for installation according to your dimensions in our LedPaja service. All our products are on display, installed and available for testing in our shop in Koivuha, Mesikukantie 16, Vantaa. We serve business, consumer and retail customers. Opening hours: ma, thurs 8.30 – 15.30, tu – to 8.30 – 17, sat 10-14.

