LED strip lights have risen to popularity by offering an incredible range of different and stylish lighting solutions. They are easy to use and versatile, and can be used in many different environments, such as kitchens, living rooms and even outdoors. Let’s recap how to fix them.
Choice of LED strip light
LED strip lights are available in many different styles and colours. When choosing a strip light, it is important to take into account the enclosure classification of the strip, which can be found on the strip’s packaging or product description. The rating indicates how resistant the tape is to moisture and dust, for example.
IP65 means in practice that the LED strip is waterproof. These LED strip lights have a shield on the top that needs to be peeled off for the LED strip extension. This is because the solder points are under protection. In addition, soldering points often need to be wiped cleaner due to silicone or PVC residues.
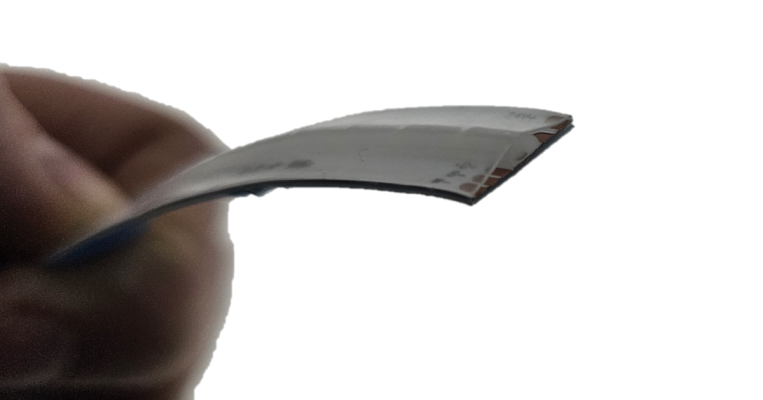
IP21 stands for dry room LED strip light. These LED strip lights are easier to solder together.
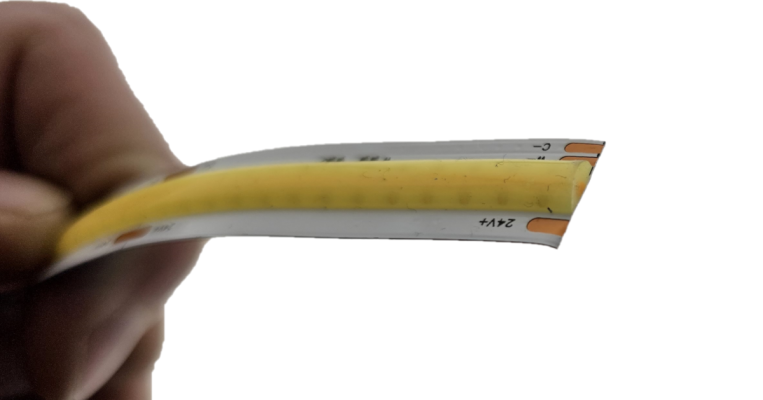
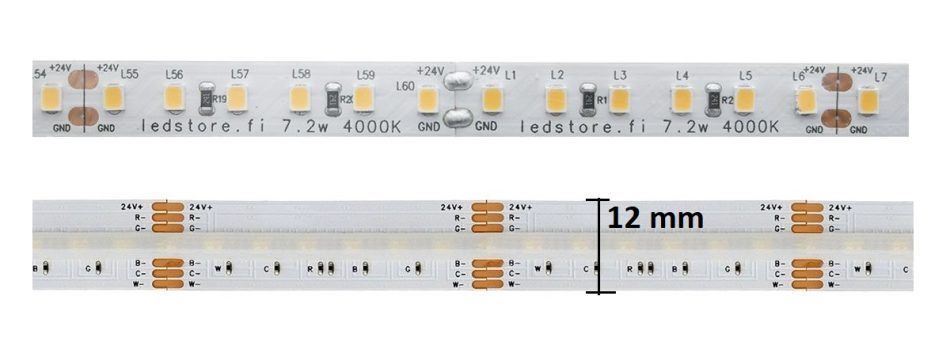
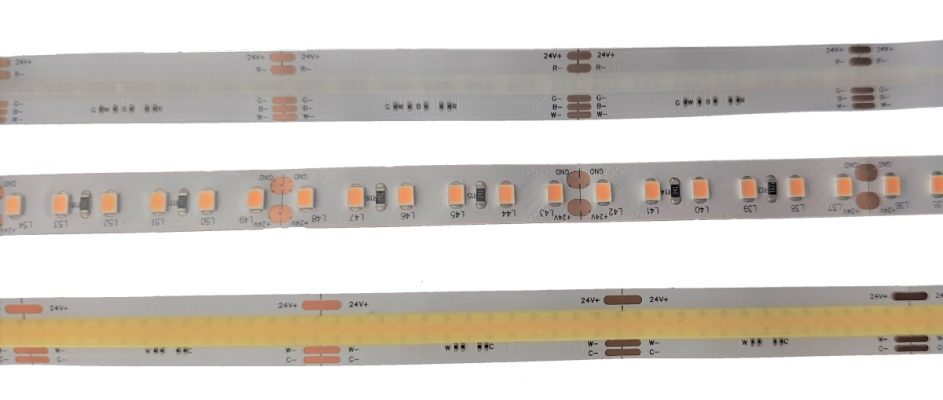
In addition, when choosing an LED strip light, its characteristics are taken into account, and thus how many wires need to be soldered to it for the connection. And hence its difficulty factor.
It is completely different to solder 6 wires in a 12mm wide space than 2 wires.
We have written our own guide 12on how to cut and extend the Led strip light.
Tools and materials needed
To mount the LED strip, all that is often needed is the tape at the bottom of the strip and separate LED mounting profiles. In some cases, such as NEON LED strip lighting, its own separate brackets are used.
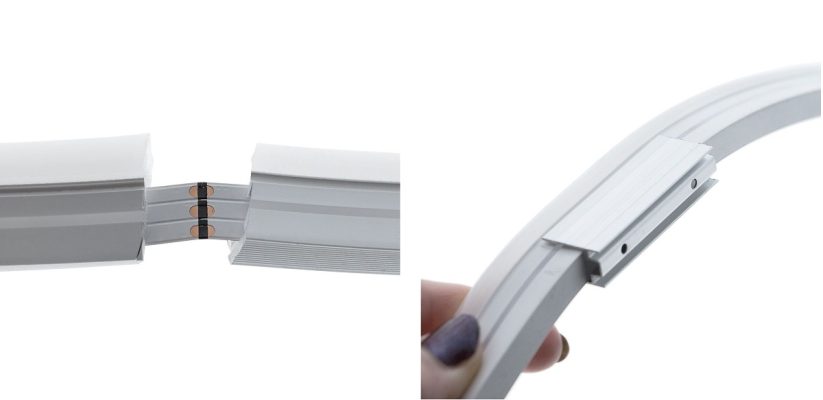
NEON LED strip lights do not require an aluminium profile for installation, as they are lower in power and designed so that they do not overheat. They are mainly used outdoors, where they are cooler by default.
You will also need a tape measure to measure the length of the strip, a hacksaw to cut the profile and possibly scissors to shorten the strip. To connect the LED strip lights, a tin flask and a soldering iron are required.
Design of LED strip lighting fixture
Before attaching the LED strip, it is important to plan where you want to install the strip. Always cut the profiles first, then the LED strip lights, to accurately measure the object.
Light strips always have cut-off points every 2.5-10cm (there are exceptions) and it would be good to leave 1-2 cm of soldering space inside the LED profiles before the wire comes out of the profile. This is because the joint can also be sealed in outdoor use, if necessary, to prevent oxidation.
LED profiles are usually fixed with their own brackets approx. every 50 cm. The brackets are simply screwed on and the LED profiles are pressed into the brackets.
LED light strip attachment
LED strip mounting is a relatively simple process. The led stripcan be attached directly to a cleaned and dry surface using the tape on the back of the led strip. When using mounting profiles, the tape is inserted into the profile and the cover is pressed into place.
Led profile
Energy efficient LED strip lights ALWAYS need an LED profile to cool the LED strip light, and always provide a better mounting surface than glass or wood. Here are a couple of things to refresh your memory:
- Cooling – LED strip light has a longer life span
- Better grip – LED strip light does not drip
- Easier fixing – no need to tinker with fixing e.g. on wooden surfaces
- Light uniformity with the opal cover – Even the most pinpointed LED light strip is evened out
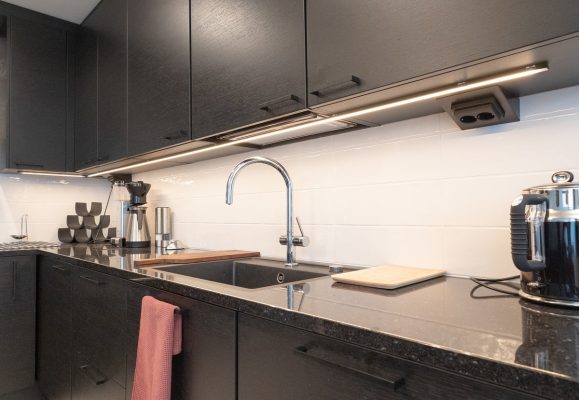
I have written a longer article on the topic12″Why does an LED strip light need an aluminium profile?“. The article discusses the thermal conductivity of different materials and their impact on 12the lifetime of LED strip lighting.
Angles
The LED strip bends only in the direction of the roller. Remember that you may need to shorten, extend and pull the led strip over corners and edges. For corners, we always recommend using a short wire in a 90 degree bend, rather than bending the LED strip light across the corner. This corner wire is soldered with a soldering iron.

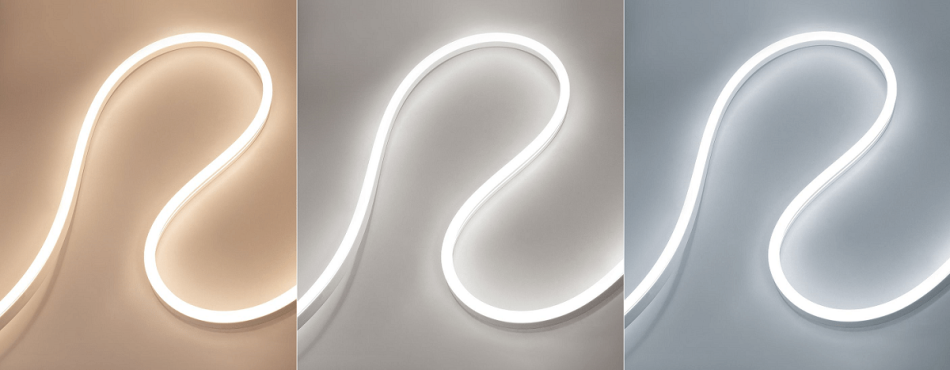
NEON LED strips, on the other hand, are usually designed to bend in the opposite direction to the light surface than LED strips on a roll. The NEON strips are therefore attached in the same way as the LED profiles. With its own brackets, but twice as dense.
If you want to see NEON tape projects in action, read these:
12NEON tape for the terrace – Article where I install NEON 24V tape on the terrace floor 12NEON tape on the ceiling – Article where we install NEON 24V tape on the ceiling in the office almost successfully.
Did I say that already? Reliable mounting of the Led strip light only by using the Led profile!
That is, it is not recommended to mount the Led strip directly on glass or wood, unless it is in a cool space such as a cold room, outdoor room, etc. Even in these applications, the challenge is to ensure the adhesion of the tape on flexible materials or materials subject to temperature and weathering.
The exception proves the rule. Low power (2-3 W per metre) LED strip lights do not produce much heat, so they are usually better off without a profile. Even for these, however, a profile provides protection from dust and dirt.
Led strip light installation guides
- 12Parallel connection of a Led strip light – We will discuss the principle of parallel connection and give an example.
- 12Led strip light cut-off – Led strip light cut-off and led strip light replacement
- 12Led strip light does not light – Why does led strip light not light, we go through the reasons
- 12Led strip light flashing – Why does a led strip light flash? There are many reasons and we will go through them all.
- 12Led strip light lifetime – What affects lifetime and why do other strips last longer?
- 12Connecting a led strip light to a transformer – How do I connect a led strip light to different types of transformers?
- 12RGB Led strip light connection – How do I connect an RGB led strip light to different control devices?
- 12Led strip light extension – How do I solder the joints? A little soldering guide for the beginner.
Led strip lighting specialist
LedStore has been an expert in LED lighting and lighting design since 2010. We have our own product design, so our products are technologically state-of-the-art. Products have quarantee for up to 7 years. We also carry out lighting maintenance.
We focus on temperature-controlled and high colour rendering lights, so they work brilliantly and last a long time. We do around 500 lighting designs for our clients’ sites in a year. Read more here or order a design. Did you know?
LedStore offers lighting design from 169 euros for the whole house!
Made to measure Led strip lights
We offer a service of custom-made led strips, i.e. custom-made led strips in aluminium profile. Also installed.
Remember that we are always ready to offer our help to you along the way, by email (myynti@ledstore.fi) and by phone (045 251 4510). As always, feel free to share photos of your own projects on social media at ledstore.fi at Instagram and ledstore.fi at Meta. We love to see the cool things our LEDs do, and it helps to provide inspiration for those who are unsure about the power and awesomeness of LEDs.
Did you know that we already have over 3500 pictures of our LED installations in our Gallery!

