Summarize
- Old fluorescent tube lights replaced by energy-efficient LED lights
- A neutral 4000K light shade is recommended for the garage
- High CRI for improved colour rendering and visibility
- LED lighting saves 50-80% of energy consumption
- Installation often requires the help of an electrician for modifications
Old fluorescent lamps need to be replaced. You got it! For this site, suitable lights were selected and installed during the renovation. These lights can be adjusted according to the situation, for example with Philips HUE. Check out the step-by-step instructions on our garage renovation journey.
Which led lights for your garage?
Led lights offer a wide range of light temperatures and we often come across the same question, “Which light colour is suitable for my garage?” A garage often doubles as a workspace, where we recommend using a neutral 4000K light tone. If the garage is designed as a multipurpose space, we suggest choosing adjustable color temperature lighting to suit different situations. Read more about garage lighting design.
High quality garage lights
Whether you prefer a warm, neutral or temperature-controlled light tone, using high Colour Rendering Index (CRI) LED lighting will always give you success. High colour rendering helps the eye to work better and you see colours as they are intended. Of course, if it’s just a warehouse, CRI80 is sufficient.
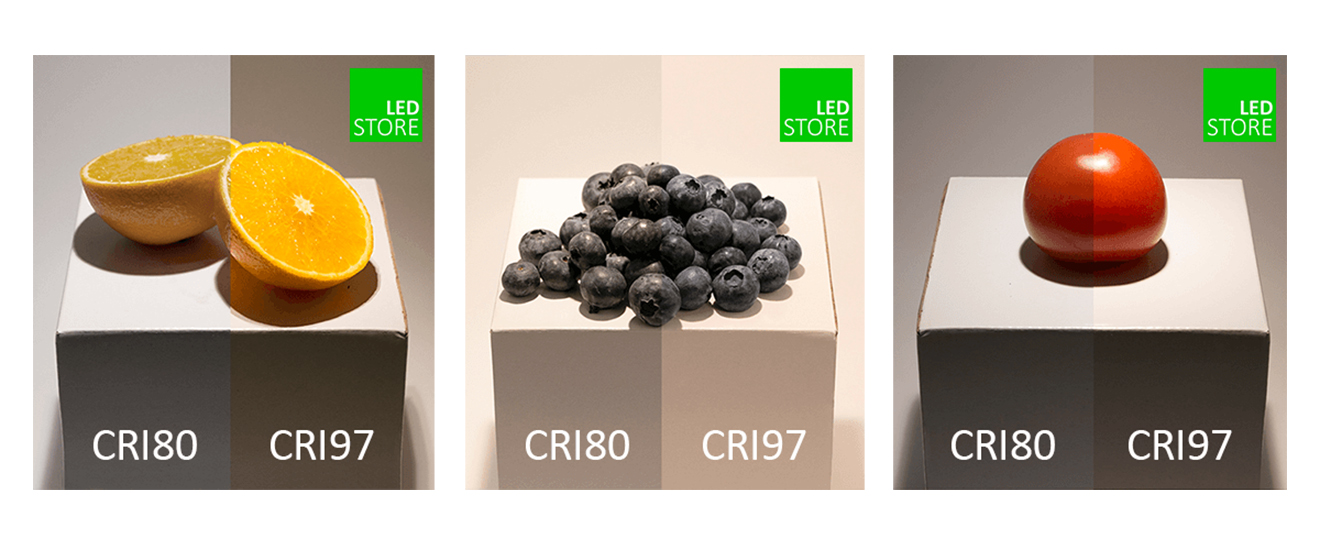
In today’s garages, lighting is powered by LED technology.
Led lights are practically the only technology available. Halogen and fluorescent tube technology has been discontinued due to their low efficiency. This has been replaced by energy-efficient LED lighting, which saves 50-80% of energy consumption. Led tubes have come to replace fluorescent tubes (CFLs). When installing Led tubes, however, you often have to turn to an electrician, as they often require modifications to the frames.
How much light is needed?
Garage lights and their intensity vary depending on the use. This table gives general recommendations for illuminance in lux (lux describes the illuminance on a given surface) for different uses in a garage. These recommendations are indicative and may vary depending on the size of the room, the colours and the reflectivity of the surfaces.
| Function | Recommended illuminance (lux) | Comments |
|---|---|---|
| General lighting | 300-500 lux | Adequate general lighting enables safe movement and basic work. |
| Precise working | 750-1,000 lux | For example electronics repair, painting, small jobs that require a keen eye. |
| Car maintenance | 500-750 lux | Maintenance of the engine and other car parts where good visibility is needed, but not as much as for very precise work. |
| Fitness | 300-500 lux | Sufficient lighting for fitness and exercise, while avoiding excessive glare. |
| Storage | 150-300 lux | A lighting level suitable for areas used mainly for storage. |
Lights were replaced and the space became multi-purpose
In this project, the lighting was renovated at the same time as all the surfaces were replaced. The garage lights were chosen for their shallow mounting depth, good light quality (CRI98) and high luminous efficacy.
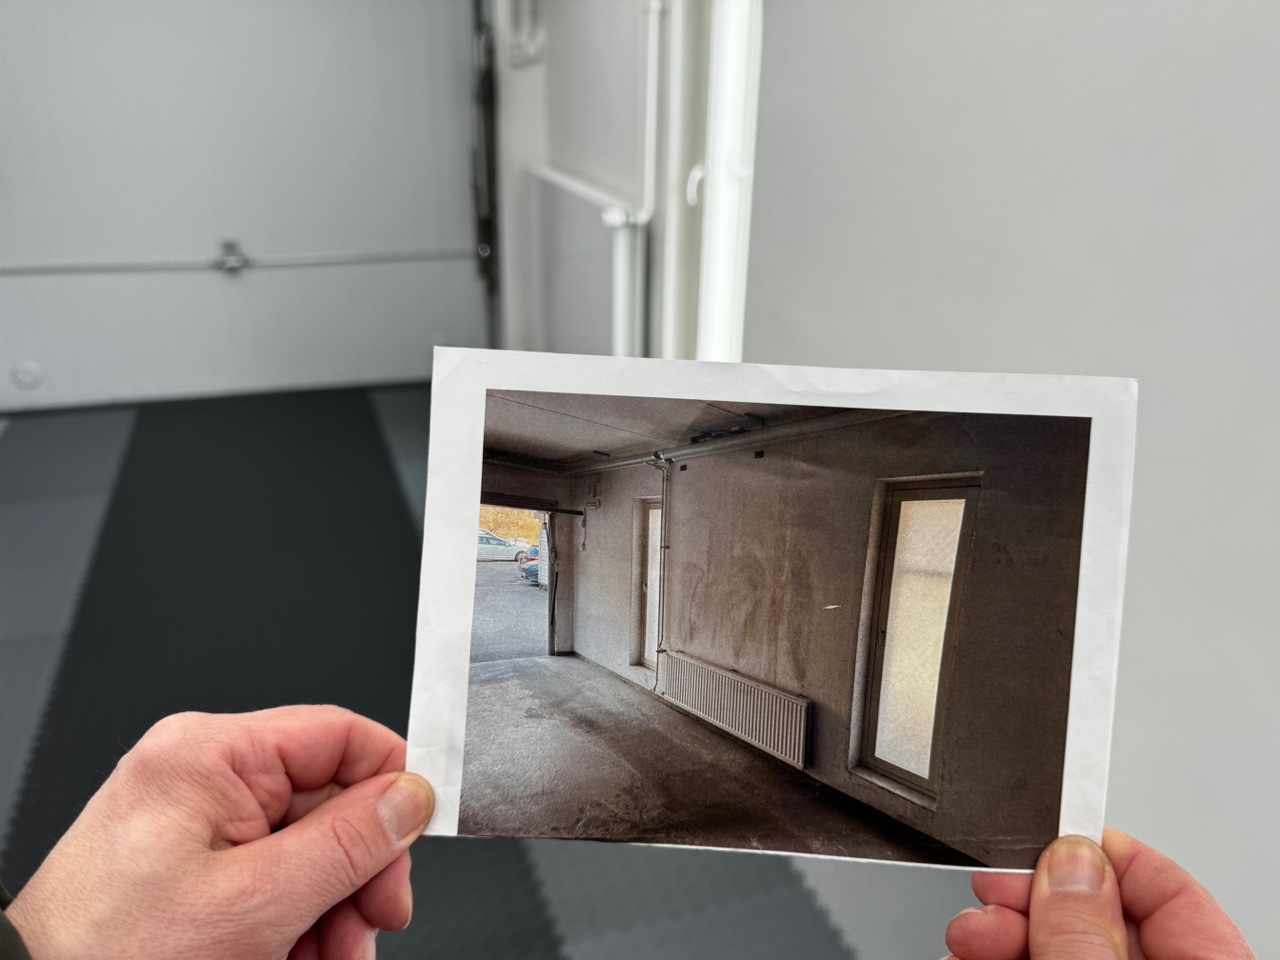
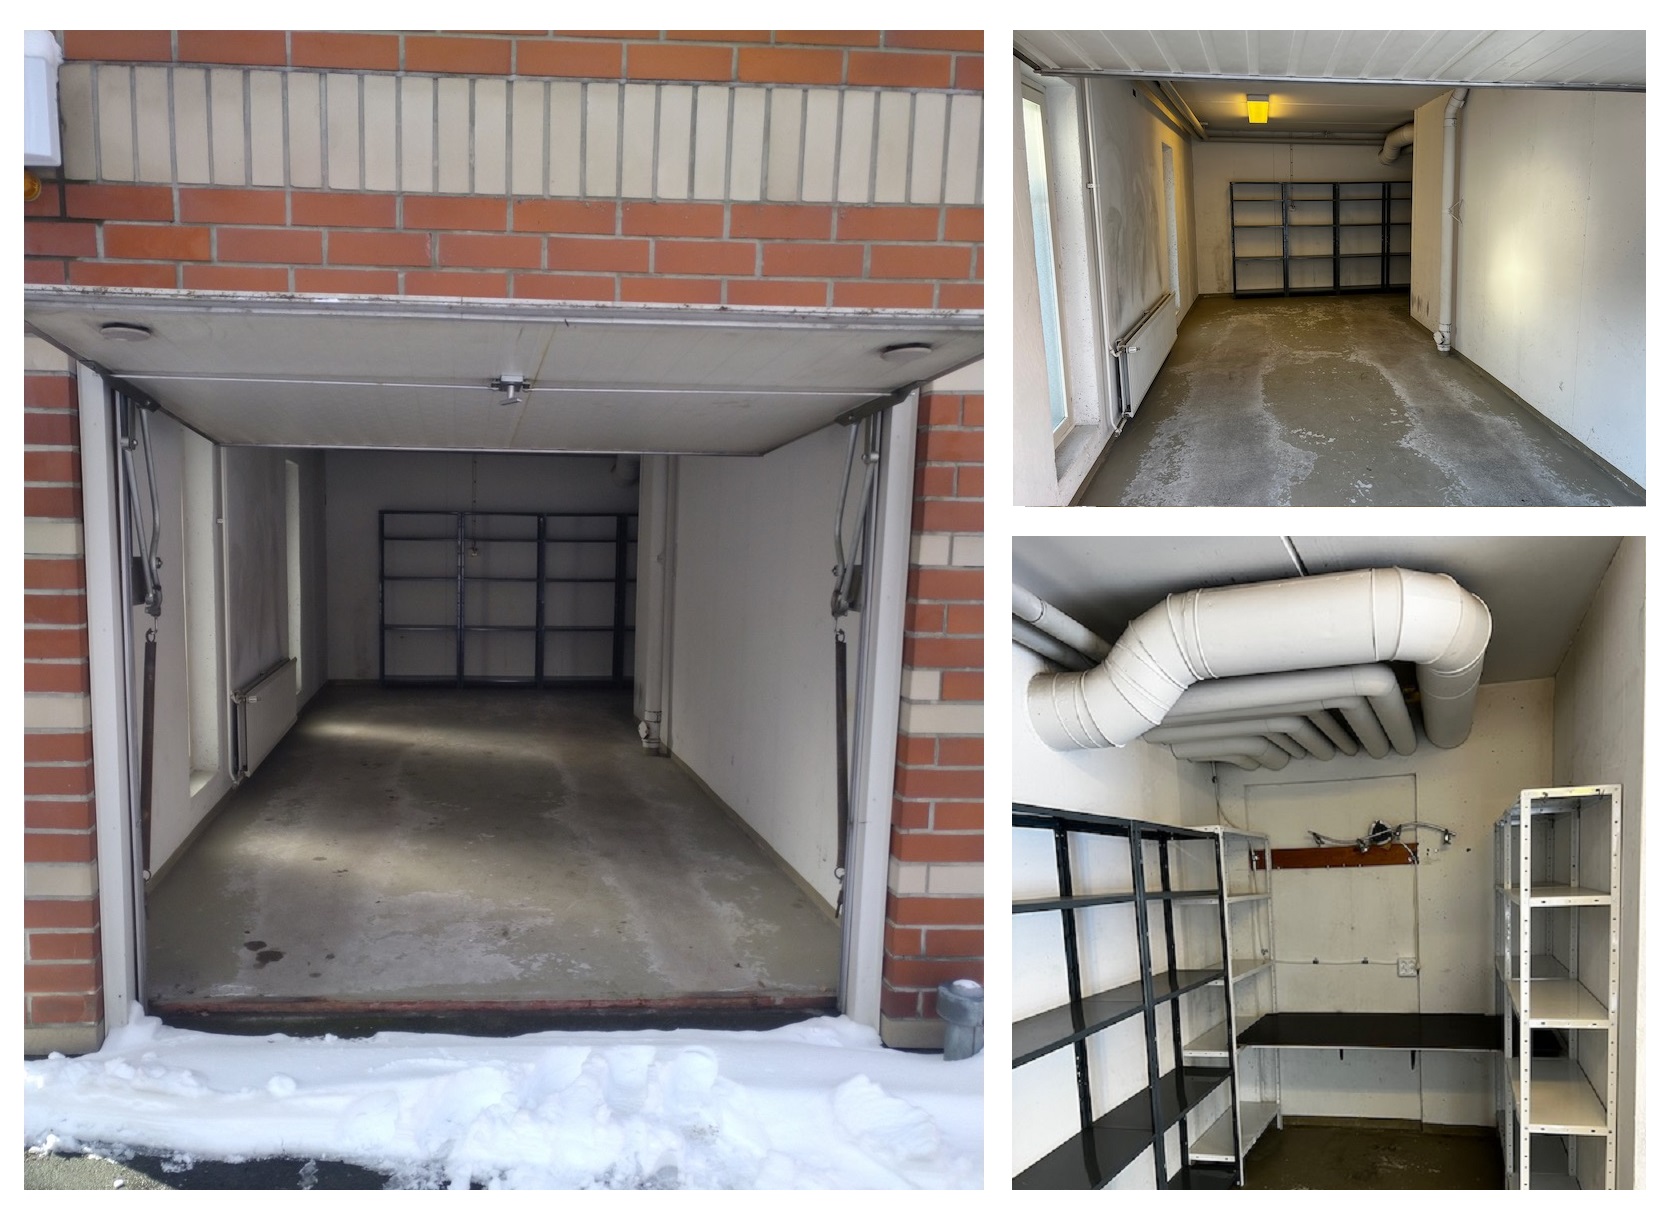
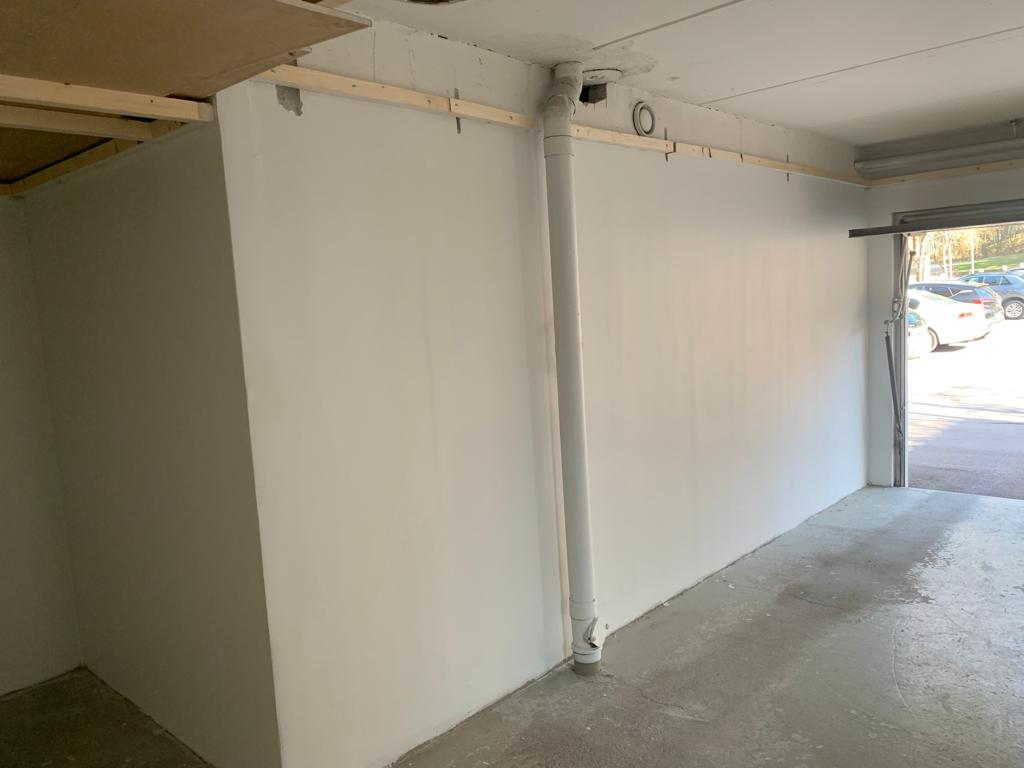
Situation at
The starting point was a dark, cramped feeling space that we wanted to make bright and inviting. Here are a couple of pictures:
The steps for the installation of the recessed LED panel were as follows:
- Power cut in the centre
- Dismantling old lights
- New framing
- Constructing board structures
- Measure the installation locations with a laser and tape measure
- Openings in the slab roof
- Painting and levelling
- Connect the driver of the light to the power supply, and Philips HUE
- Fit the LED panels into the cutouts and connect them to the power supply.
- Turning the power back on and testing the lights
- Let’s admire the result
Here are all the steps in more detail.
1. Turn off the power from the main panel.
Find the right fuse in the centre and remove power from the installation site. Electrical safety first, remember it’s an electrical job.
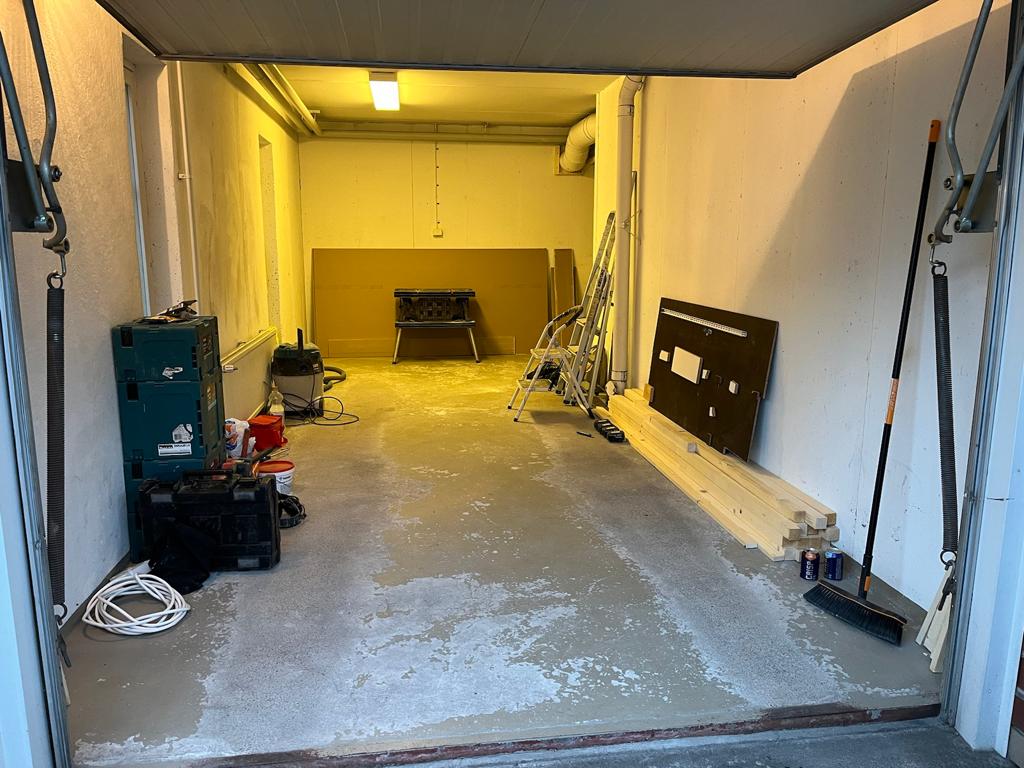
2. Dismantling old lights
The old lights will be dismantled from the ceiling and the cables checked. At this point, before disconnecting the wires, check once more with an electric pencil or a meter to make sure the voltage is definitely off.
3. New framing
Take down the old framing and add new framing to conceal the ventilation ducts. Try to lower the roof as little as possible. They wanted to hide the pipes.
4. Panel construction and electrical work
Prepare the electrical wiring for the driver. The luminaires are connected parallel with the driver. The ceilings were boarded with plasterboard and the pipes were completely encased.
5. Using a laser and tape measure to measure the installation locations
Symmetry is harmony. Measure the positions of the lights with a laser and mark them. The chosen garage lights are Panel 600×1200 CCT led lights.
6. Holes in the slab roof
The big LED panels are only 11mm thin, so it’s enough to remove the plasterboard. In other words, you don’t need to cut the framing where the fixtures are placed!
7. Painting and levelling
The surfaces are levelled and painted.
8. Connect the luminaire’s driver to the power supply and pair it with Philips HUE.
At this stage, the luminaire’s driver can be connected to the power supply, and the drivers can be paired with the Philips HUE system. This can be done by temporarily connecting a single fixture to the driver for testing. Pairing is done by pressing the “Learning” button on top of the driver 5 times quickly and the lamps will be found in HUE! From the driver to the luminaires are separate 3-pole wires. There is plenty of space, as the ceiling has large 585x1185mm openings.
Here’s more information on pairing and connecting to Philips HUE
9. Install the garage lights in the openings and driver
The led panels are connected to the wires and the springs of the led panel are bent up and the lamps are snapped into place like spotlights.
10. Turning the power back on and testing the lights
Now that the LED panels are in place and the power supply for the lights is connected, the power can be turned back on and the lights tested. Hey they work!
11. Admire the end result
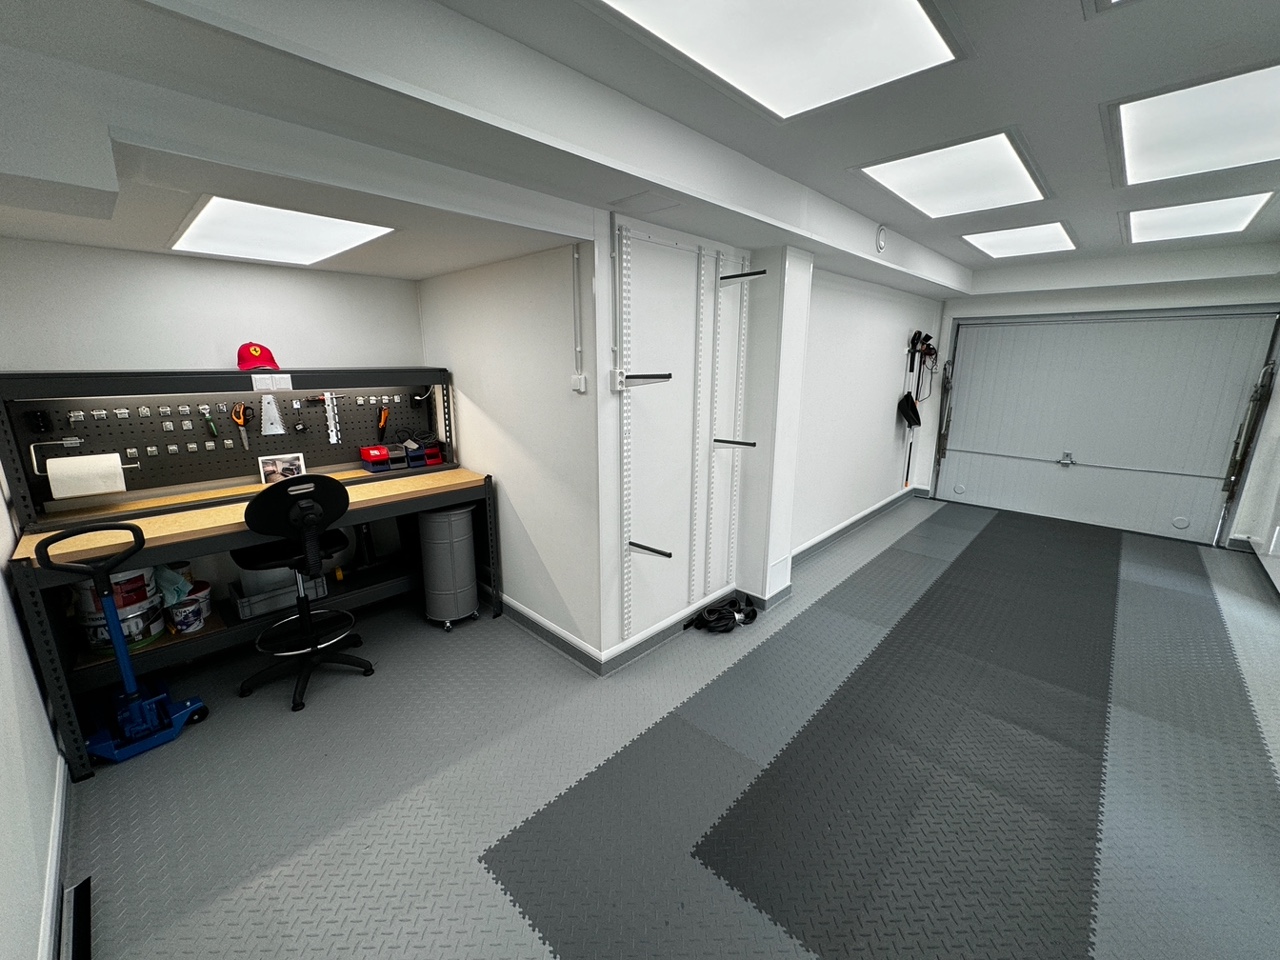
With the messes cleaned up and the old lamps packed in the SER waste, you can admire the result. The garage lights exceeded expectations! The space is now multi-purpose.
How much do garage lights cost?
The price usually consists of three components. Installation work, lighting and electrical accessories.
Installation work
In this case, we did not carry out the installation, so we cannot say how much it cost. Carpentry work is 36-60€ / hour.
Led luminaires
For the Led lights I chose an old 600×1200 CCT LED panel, without its own driver. The price of the panels (7 pieces) is 299,00€ / piece and the driver 600W 495,00€ / piece, and the Zigbee receivers (2 pieces) 99,00€ / piece. So a total of 2786,00€
Plus 2 control buttons 79€/each and customer Philips HUE hub 69€
Electrical supplies
There was little need for electrical supplies, as the drivers in the light could be connected directly to the power lines, without the need to extend or move the wires.
As you can see, the cost is not huge. If you’re interested in upgrading your lighting, you can find CCT LED panels here. And if you need a hand, our installation service is ready to help!
Garage lights with colour temperature control
These lights were installed with a wirelessly controlled driver. The colour temperature of the light can be easily adjusted to the desired Kelvin level with a wireless controller on the wall, and dimmed. For example, a warmer light colour temperature for a cosy feel or a slightly more neutral and brighter light for working. A neutral light colour temperature is also ideal if the room is used as a gym.
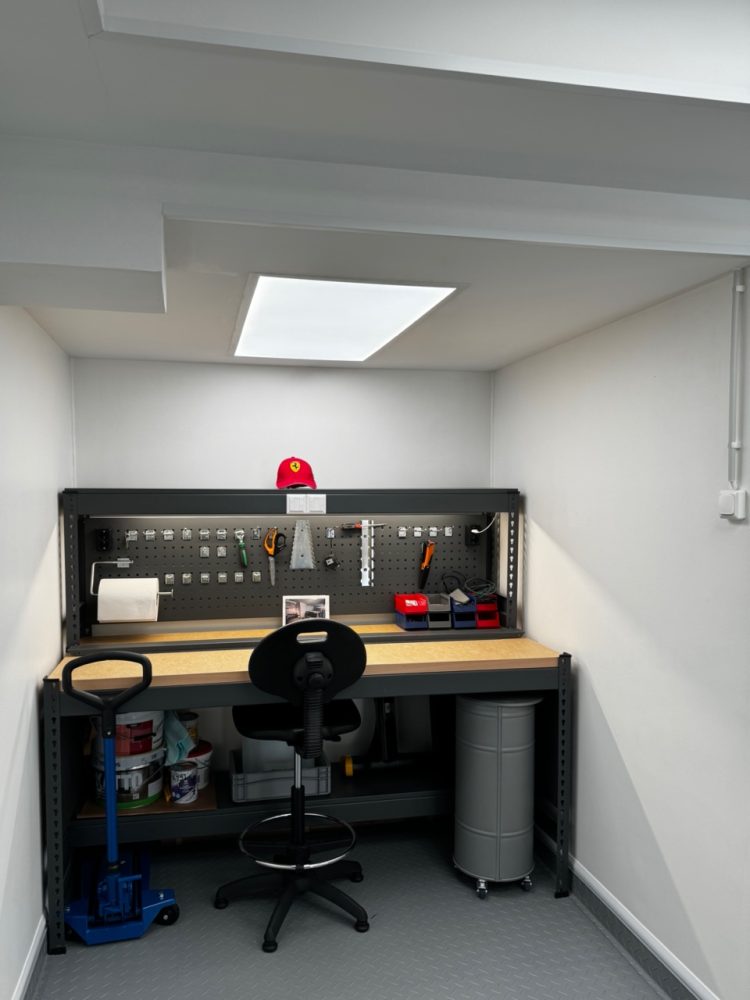
In this project 7 pcs of 600×1200 led panels were used. The amount of light was increased significantly, as ample lighting helps to compensate for the room’s low ceiling. Panel grouping was done in a 6+1 layout, meaning the worktop has its own panel above it.
s part of the project, the worktop lighting was also upgraded. Note the wireless switches above the workstation, which in this case allow seamless adjustment of both the worktop and ceiling lighting color temperature.
Philips HUE and various home automations
So those interested in home automation can choose Zigbee drivers for LED panels and thus control lighting with different systems. It allows, among other things, timings and automations. In addition to the Zigbee driver, you also need a Zigbee bridge, i.e. a hub, such as Philips Hue, LedStore’s Azoula or even Conbee2 and Homeassistant.

FAQ
1. Why is it important to invest in lighting when renovating a garage?
Well-designed lighting improves the functionality and safety of your garage. Adequate lighting enables more precise work, such as car maintenance or tool use, and reduces the risk of accidents. In addition, effective lighting enhances the aesthetics of the space and makes the garage a more pleasant place to spend time.
2. What types of LED strips are available for garage lighting?
A variety of LED strip lights are suitable for garage lighting, including RGB LED strips for multi-colour lighting and white LED strips for uniform and bright lighting. Dimmable LED strips are also available, offering flexibility to adjust the lighting to meet different needs.
3. How to choose the right LED strip for garage lighting?
Choosing the right LED strip is based on the size of your garage, your lighting needs and your budget. Consider whether the space needs brighter general lighting or more indirect accent lighting. Choose a strip with a wattage (in watts) and colour temperature (in kelvin) that matches your needs. Also, check the IP rating of the strip to make sure it can withstand the potential amount of moisture and dust in your garage.
4. How does LED lighting improve the usability of a garage?
LED lighting improves garage usability by providing a uniform and bright light that makes working easier and more precise. This is particularly useful for car maintenance, tool use or other precision tasks. In addition, good lighting makes the garage a safer place to move around.
5. How to install an LED strip in the garage?
Installing LED strip in your garage starts with measuring the strip and cutting it into suitable metres if necessary. Attach the strip to aluminium profiles or other suitable mounting hardware using the supplied fixing tools. Connect the strip to the power supply and ensure that the connections are secure. If using dimmable or intelligent systems, follow the manufacturer’s instructions for additional settings.
6. What energy efficiency factors should be considered when choosing LED lights?
The energy efficiency of LED lights is based on their low power consumption and long lifetime. Choose lights with a high luminous flux (lm) in relation to their wattage (W) to get efficient lighting with lower energy consumption. Also consider dimmable LED lights or intelligent control systems that allow you to adjust the lighting as needed, thus increasing energy savings.
7. How to choose the right color temperature for garage LED lights?
Colour temperature affects the mood and functionality of lighting. For garages, a neutral or cooler light, around 4000-5000 Kelvin (K), is generally recommended, providing a bright light. This helps to improve visibility and accuracy when working. If you want to create a warmer and more welcoming atmosphere, you can choose a slightly lower colour temperature.
8. Which additional components do you need for garage LED strip installation?
The following accessories are required for installation:
Aluminium profile to mount the strip
Suitably sized driver for the LED strip
Connecting wires to connect the LED strip to the driver
Wireless button or other LED strip switch depending on the control method selected
9. How to maintain LED lighting in a garage?
Maintaining LED lighting in your garage is simple. Clean the LED strips regularly with a soft, dry cloth to remove dust and dirt. Make sure the power supply is working properly and that the wiring is not worn or damaged. Also check that the fixings remain tight and protected from moisture. If the LED strip begins to deteriorate, replace only the necessary parts without reinstalling the entire system.
10. Can LED strips be used together with other lighting solutions in a garage?
Yes, the LED strip can be used in combination with other lighting solutions such as ceiling lights, wall lights or pocket lights, providing a versatile and comprehensive lighting system in the garage. By combining different types of lighting, you can create both general lighting and targeted lighting for different needs such as working, storage or accent lighting.
Lighting expert
LedStore has been an expert in LED lighting and lighting design since 2010. We have our own product design, so our products are technologically state-of-the-art. Products have quarantee for up to 7 years. We also carry out lighting maintenance.
We focus on temperature-controlled and high colour rendering lights, so they work brilliantly and last a long time. We do around 500 lighting designs for our clients’ sites. Read more here or order a lighting design
We offer custom-made LED strips, i.e. custom-made LED strips in aluminium profile, also installed. Did you know? LedStore offers lighting design for the whole house!
Remember that we are always ready to offer our help to you along the way, by email (myynti@ledstore.fi) and by phone (045 251 4510). As always, feel free to share pictures of your own projects on social media using #ledstorefi on IG and ledstorefinland on FB. We love to see the great things our LEDs do, and it helps to provide inspiration for those who are unsure of the power and awesomeness of LEDs. Did you know that we already have over 3500 pictures of our LED installations in our Gallery!
Gallery of Led lights:
Product gallery: Pictures of PRODUCTS in different installation locations
Indirect light: Indirect light in different spaces
Room-specific: Light in different rooms
References: Complete houses that have been photographed

