Summarize
- Indirect LED strip lighting significantly renews the look of a room
- Installation steps: preparation, fixing, gluing, hiding of wires, connection
- Led strips, colour temperature adjustable, wirelessly controllable
- Aluminium profiles improve the durability and appearance of LED strips
- Led strip lighting is also suitable for outdoor areas such as terraces
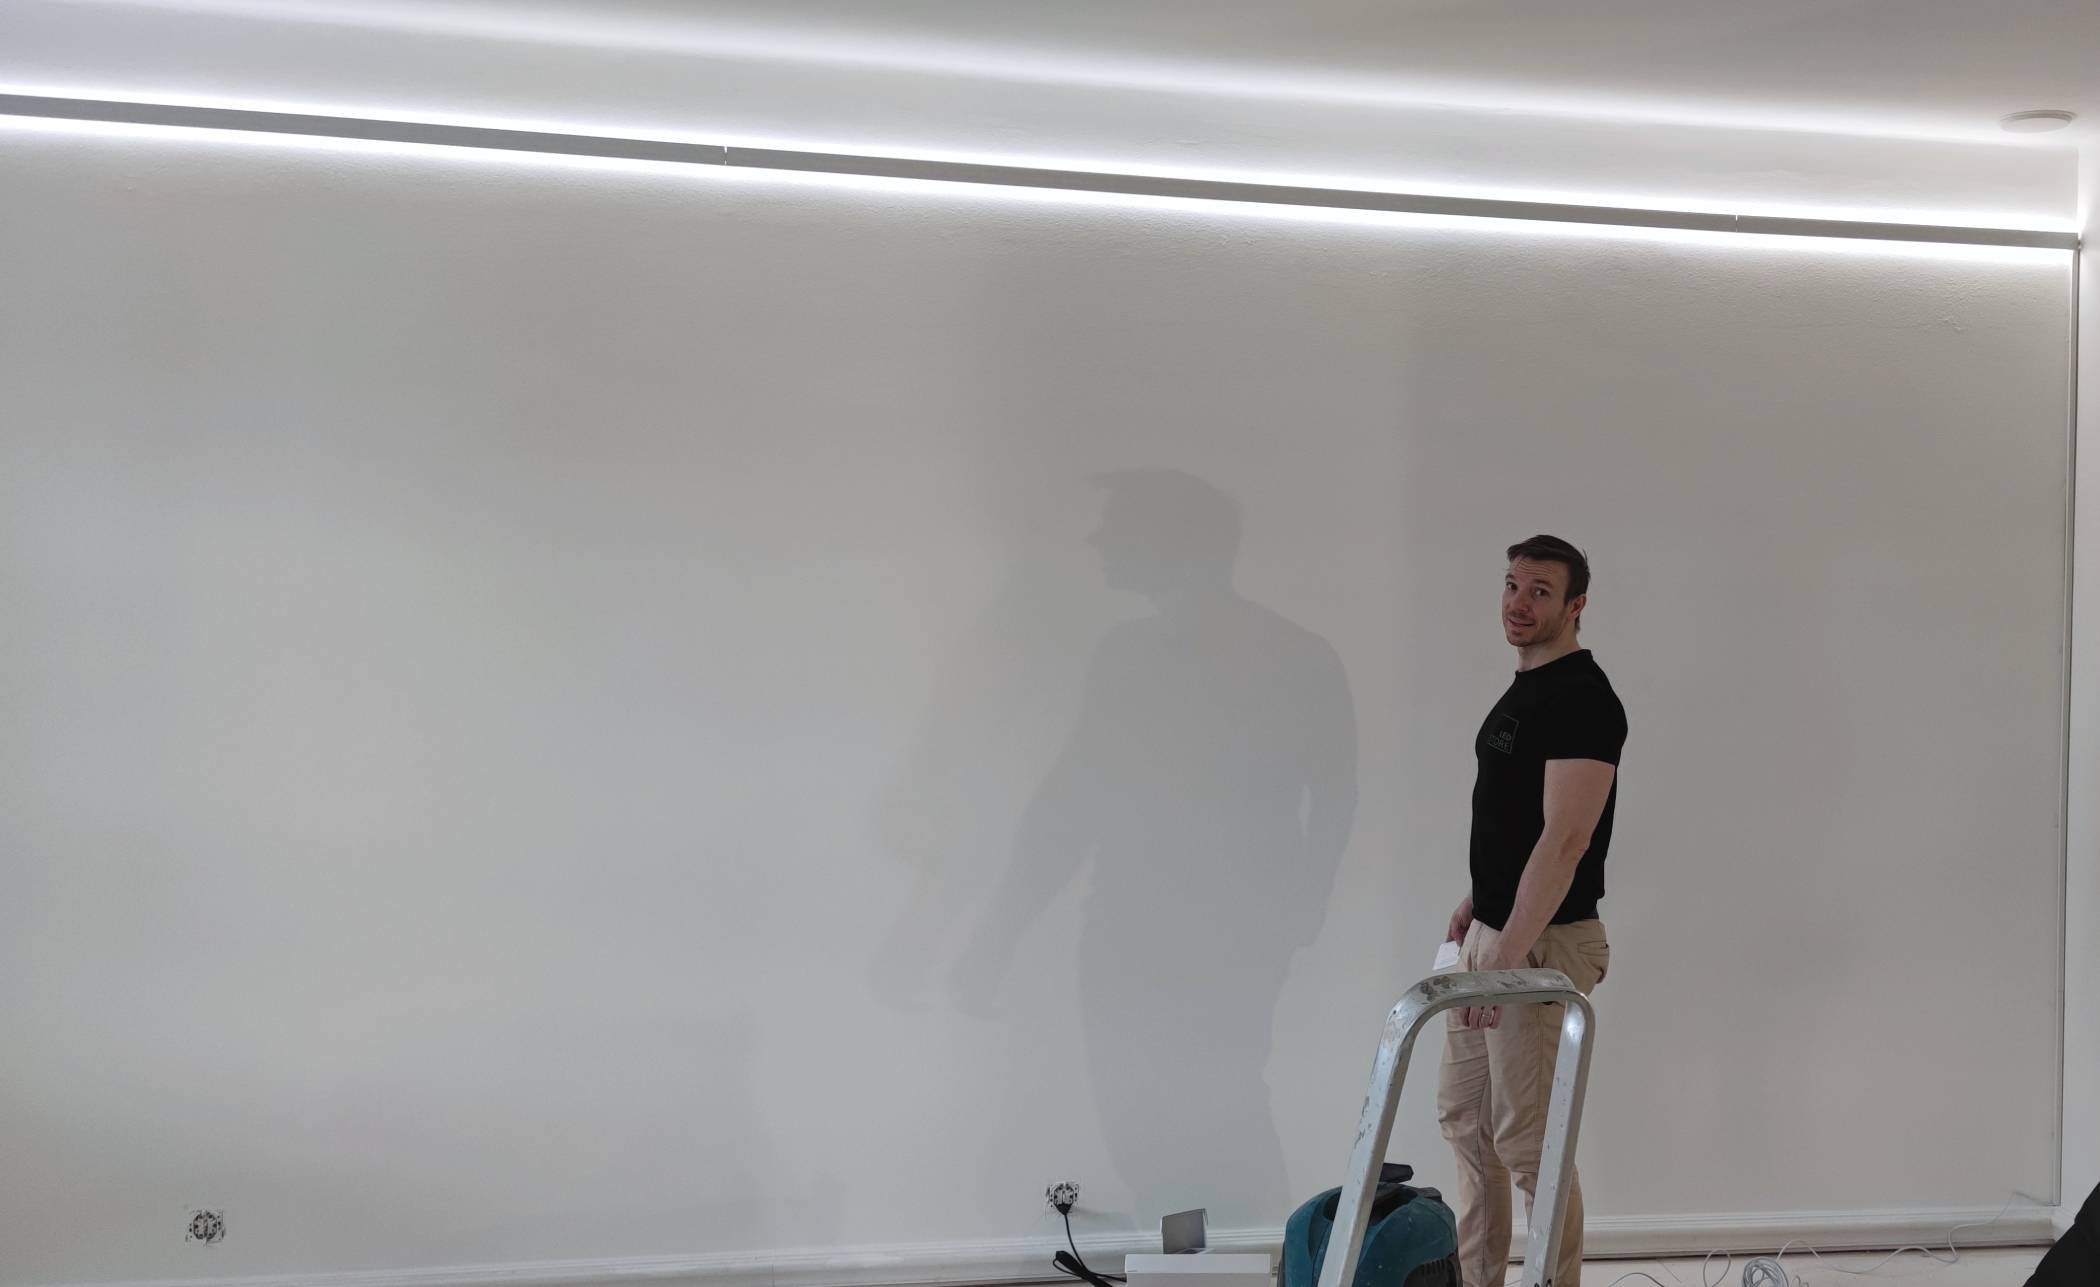
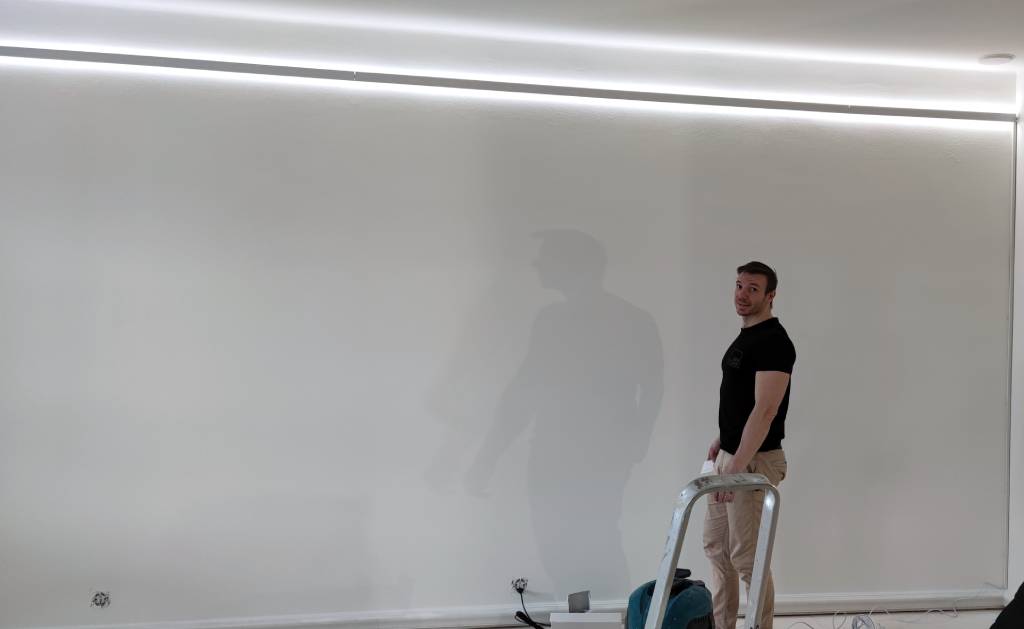
Installing indirect LED strip lighting brings a whole new look to a room. This article presents the steps of a lighting installation when a client wanted to upgrade the lighting in the living room of an apartment they were renovating. So let’s go through the question: how to install an LED strip?”. In this project, in addition to the existing ceiling light point, indirect lighting was installed in the room on two 6 m walls with LedStore products. The lighting had to be installed before the walls were painted, as the aluminium profile and the conduit left on the wall surface were painted to match the wall when the walls were painted.
Installation of Led strip facing the ceiling – lighting list in aluminium profile
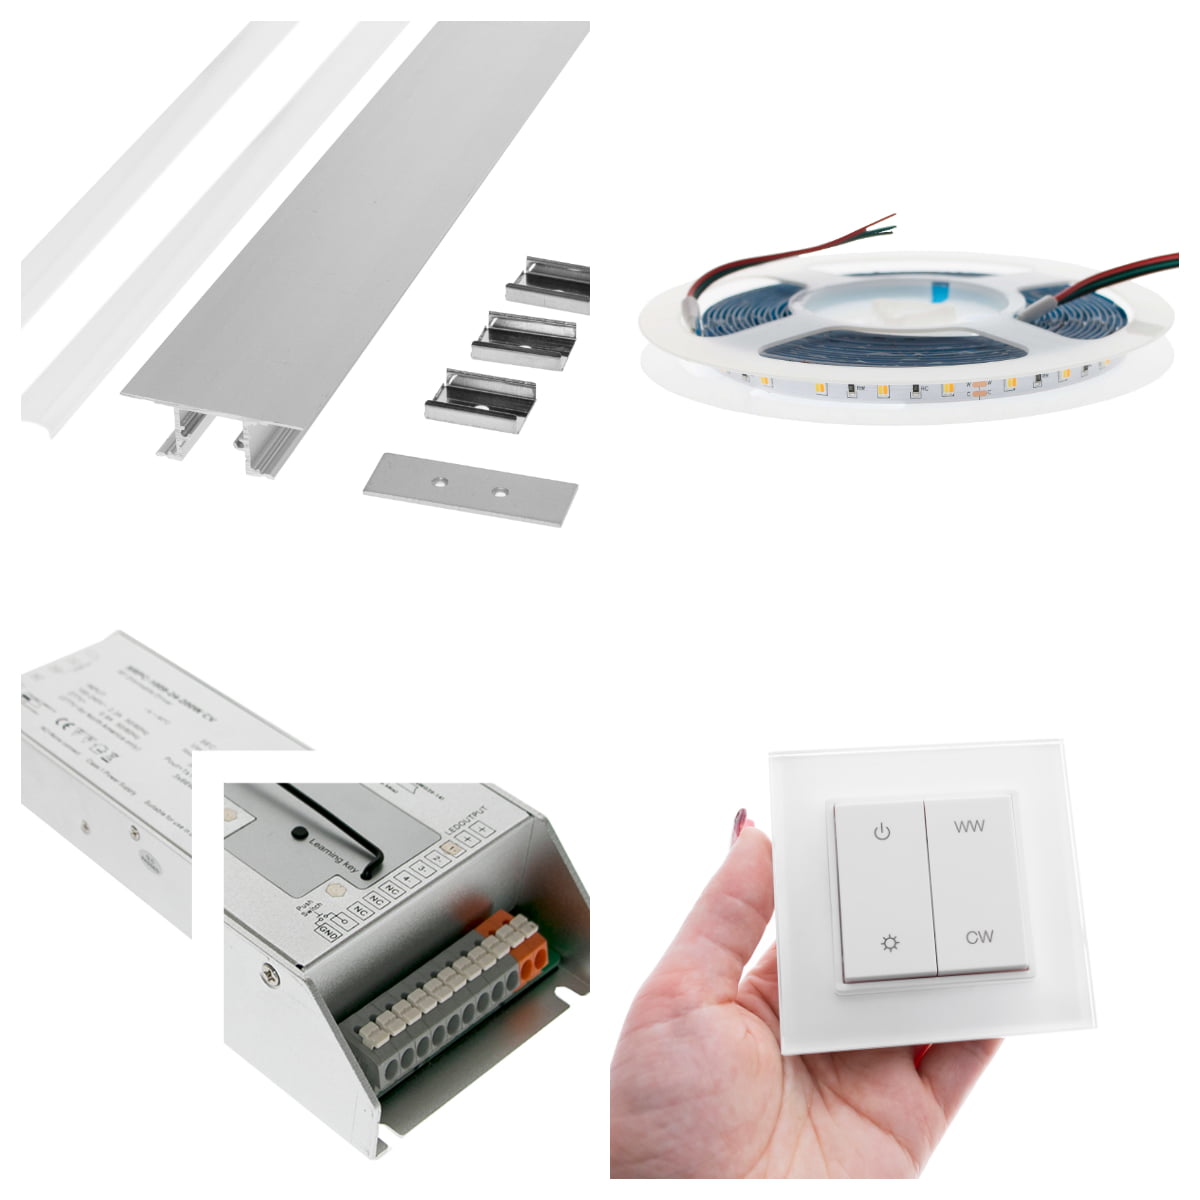
The indirect LED strip lighting in the living room was installed with a bi-directional aluminium profile for indirect lighting. The profile is made of anodised aluminium and the full length of one profile is 2.5 metres. The profile comes with plastic diffusers, wall brackets and end pieces. The LED strip used was a high quality 24V 14,4 W/m output power colour temperature adjustable LED strip. The power supply for the installation was a 24V 200W RF transformer, which was connected to a wireless colour temperature controller. The buttons have both dimming and colour temperature control.
Installing an LED track – installation steps for indirect LED strip lighting
The LED profile and strips were installed ready for use at the customer’s site. The installation steps for indirect LED strip lighting were as follows:
- Preparation of Led strips and profiles at LedPaja
- Wall brackets and profiles, wall mounting
- Gluing / fixing of Led strip to profiles
- Installation of cable trays covering the connecting lines
- Connecting Led strips to transformers and mains power
- Commissioning with wireless control
Pre-preparation of indirect LED strip lighting strips and profiles at LedPaja
The length of the Led strip is five metres, and the strip can be joined by punching it to the desired length at intervals of up to 10 cm. For the installation, the up and down LED strips were soldered to 6 m lengths, and the connecting wires to the transformer were knocked into them. There is space for wires in the middle of the profile, which was exploited here: holes were drilled in the bottom of the profile’s tape groove, from which the wires were brought to the middle of the profile and connected so that the transformer could be powered by a single connecting wire. The electricity supply for the tape was therefore handled by a single transformer.
The Led strip was glued to the first 2.5 m long profiles. Two complete profiles were needed for the six-metre lengths, and one metre-long profile. The aluminium profiles were cut to the correct dimensions with a circular saw.
Fixing wall brackets and profiles to the wall
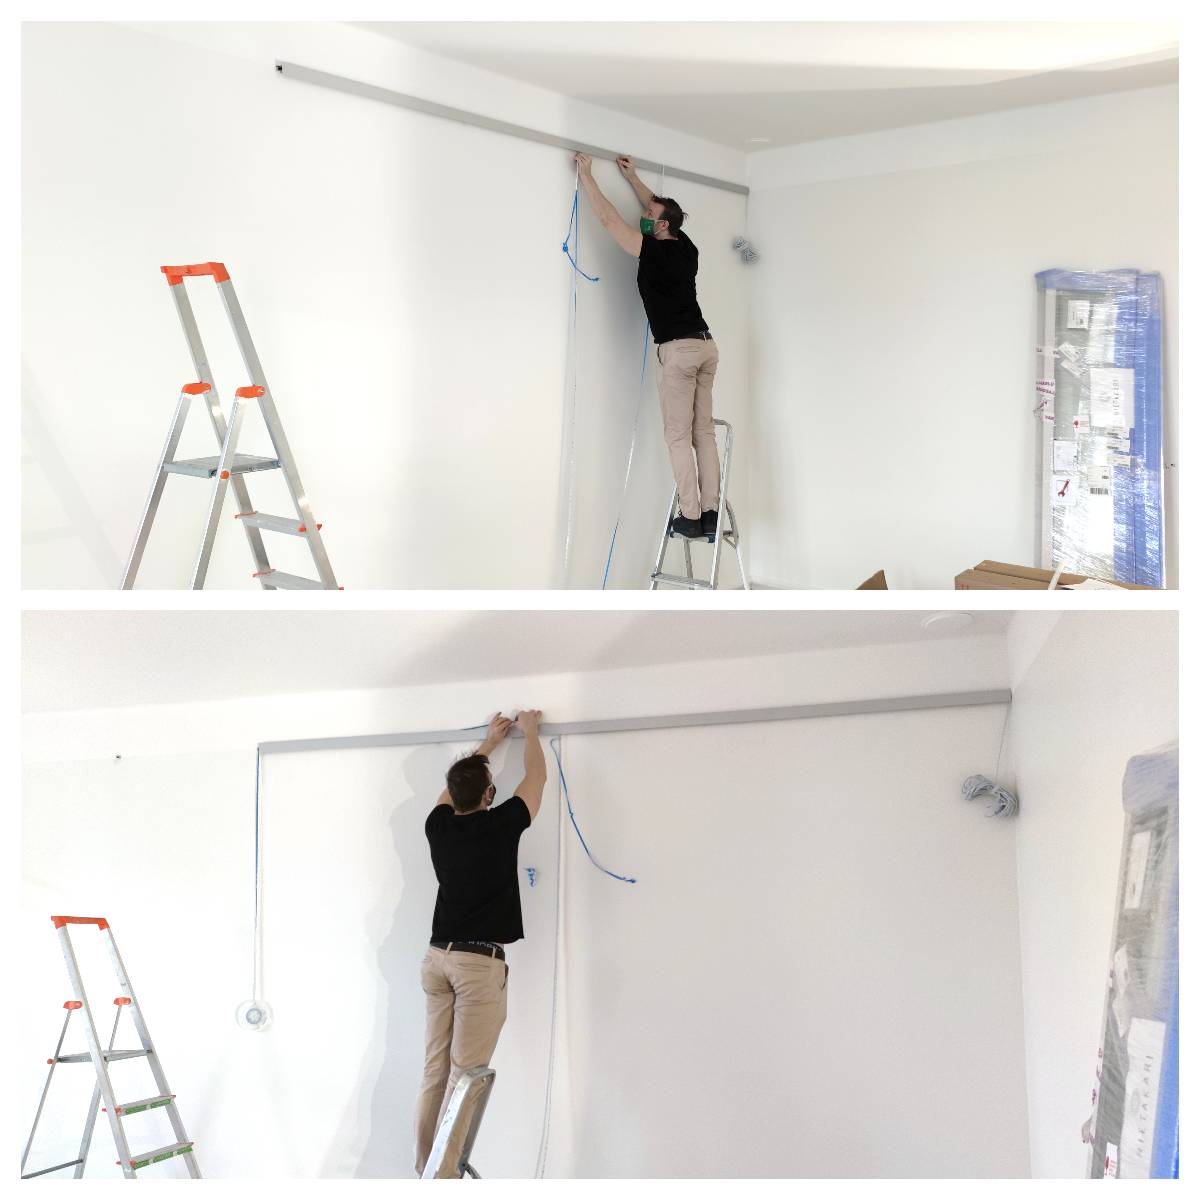
At the customer’s site, a mounting line was pre-marked on the wall, and metal fasteners were screwed into it at intervals of about half a metre. Single clamps were added to the joints of the profiles to keep them tightly aligned. Fortunately, extra fixings were included because, as always, the stone wall is not absolutely straight and adding fixings in the right places made the profile fit the wall. So a few extra brackets were needed. The aluminium profile was pressed into the brackets, starting at the power supply end, where the LED strip was pre-glued. LedStore’s LED strips have a pre-glued surface under the protective plastic, which means that no adhesive is required for installation, and there are no problems during the installation phase in getting the LED lights to stick to the surface. Aluminium profile is the best surface for fixing the tape, as it is tight and smooth. It also increases the lifetime of lights due to its thermal conductivity.
Gluing the Led strip to profiles
The installation of the indirect LED strip lighting continued by fixing the second and third profiles to the wall and gluing the LED strips to both edges of the profile. The plastic covers, or diffusers, were then fixed by pressing them into place. The covers should be fixed so that the extension points of the covers are at different points from the extension points of the aluminium profile. The protective films protecting the plastic covers were left in place for this project, as the profiles will be painted to match the wall.
Installation of cable trays covering the connecting lines
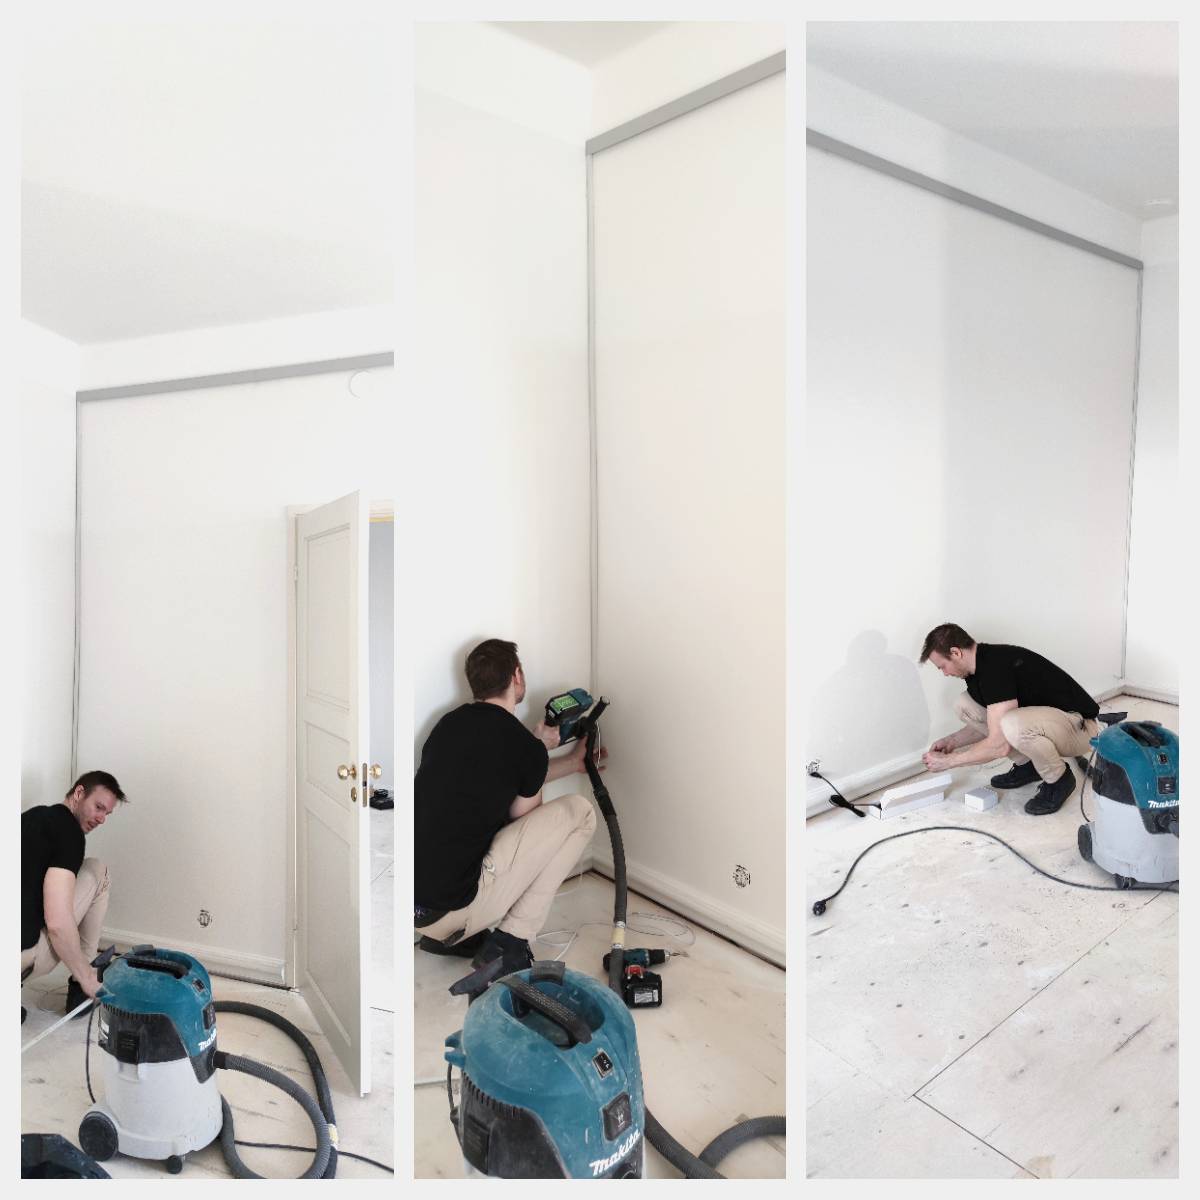
Once the LED strips were attached on both sides, it was time to hide the supply wires. For this purpose, a small, screw-in conduit was used, which was propped up against a corner of the wall. The lengths of the connecting cables were sized to accommodate the transformers, which were powered from a wall socket.
Connecting Led strips to transformers and mains power
Connecting Led strips to a transformer for colour temperature control requires several minus channels on the output terminals of the transformer. The minus channels allow you to adjust the colour temperature between warm white WW and cold white CW. You also have to be careful with the total power of the transformer. In the two-way illuminated profile, there were 12 metres of 14.4 W/m LED strip per wall, so the power of both transformers with load shackles was 200W, which is in fact the maximum load for a 14.4 W/m LED strip of this length. A plug was installed at the input end of the transformer for the mains power supply. It was easy to plug into the wall socket, even though the LED strip was mounted high on the ceiling. The installation list was important at this point, so that the wires could be neatly hidden on the wall slab.
Deployment for wireless control
Pairing a Led strip from an RF transformer to a wireless button is easy. When the LED strip is energised, press the transformer learning key once. Then press once on any button on the button once. Led lights flash to indicate a successful pairing. Once successfully paired, the lights adjust smoothly between warm white WW and cold white CW, and dim smoothly between 0-100% brightness levels. The pairings had already been set up in LedPaja, so in practice all that was done was to check that the lighting was working as desired.
You can also adjust the shade of the smart lighting on the strip by selecting Zigbee control, i.e. a transformer with a receiver and a wireless controller suitable for smart lighting. The lights are installed in the same way, only the pairing is slightly different. These control devices are also available from LedPaja ready for installation.
Colour temperature control and colour rendering index
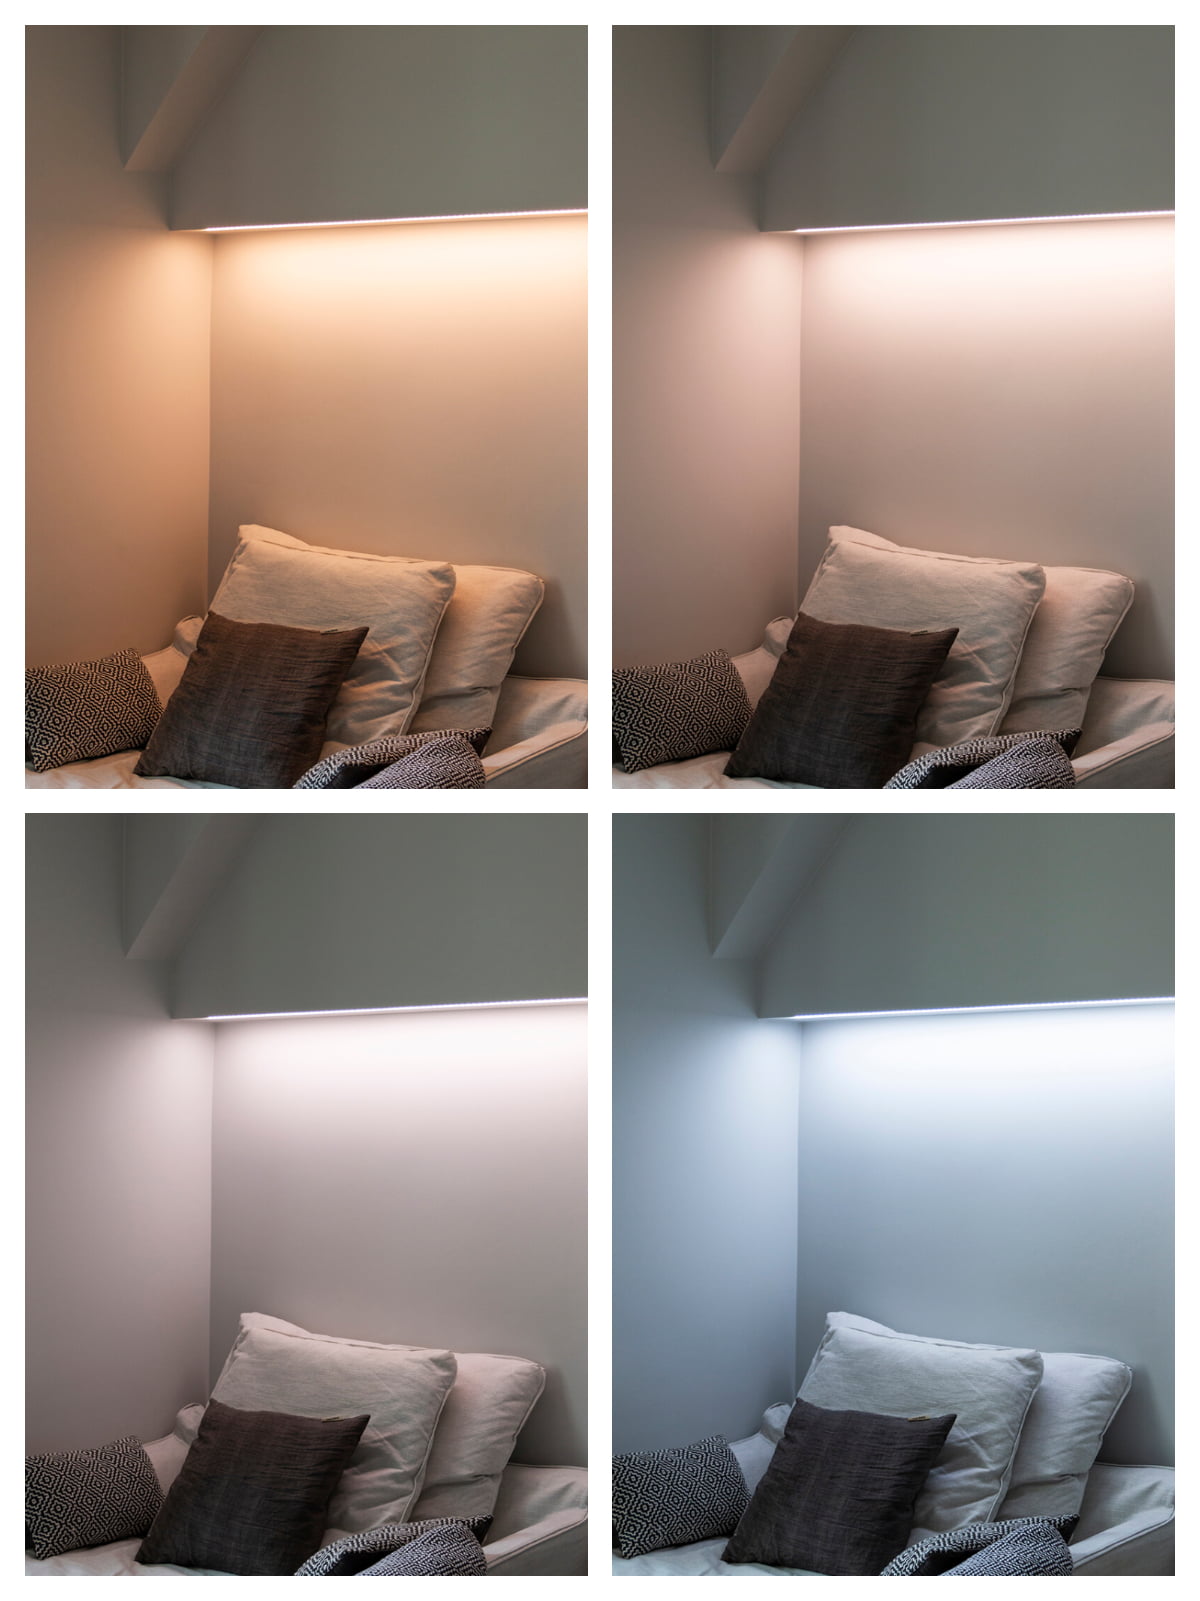
The colour temperature adjustable LED strips adjust between 2 500 Kelvin orange white and 6 500 Kelvin daylight. The picture below shows an example of a reading corner with a corresponding LED strip. Changing the colour temperature has a significant effect on how the colours in the environment look. An important feature of LedStore’s LED strips is the very high colour rendering index (CRI98!). The colour rendering index is the range and naturalness with which the LED strip reflects the colours of the environment. When the colour rendering index is close to 100, the entire spectrum of white light is reproduced beautifully, meaning that no colours are missing. Read more about the colour rendering index on the LedStore website.
Led strip mounting outdoors
The Led strip and aluminium profile can also be used outdoors, for example to provide protection for end walls. The LED strip provides a functional outdoor light, for example for entrance and even illumination of the terrace. The Led strip in aluminium profile can also be installed in an outdoor sauna, for example, at a level where the temperature does not rise above 60 degrees.
We have compiled pictures of completed installed LED strip lights in our photo galleries. If you want to see all the pictures, you can find them on the main page of the Photo Gallery. There is also a dedicated folder for outdoor lighting, including LED strip lighting images. In the living room lighting photo gallery you will find a lot of realised living room lighting.
Read more about our LED lighting projects on our blog, we have a Renovations category for that.
We also welcome you to visit our showrooms to see examples of lighting. In our All in One store you will find all our luminaire models installed. LedStore is located at Mesikukantie 16, 01300 Vantaa (Koivuhaka). Check out the shop here.

